Learn how to create an Edit project in Vision, add a product, actor, and environment, and generate your first composite image.
After this guide, you’ll know how to set up a full Edit project from scratch - including adding a product, actor, and environment - and how to run, review, and refine generated images.
This workflow works best for fashion and lifestyle photography where you want to place a product and actor in a specific environment.
Before you start
Make sure you have:
- access to your Vision account
- product, actor, and environment images ready in supported formats
- files no larger than 10 MB each
Part 1 - Project setup
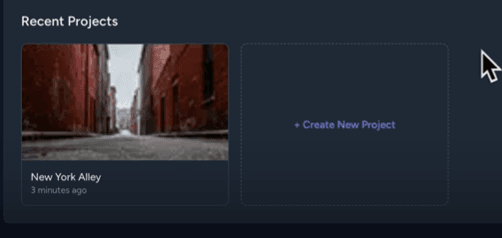
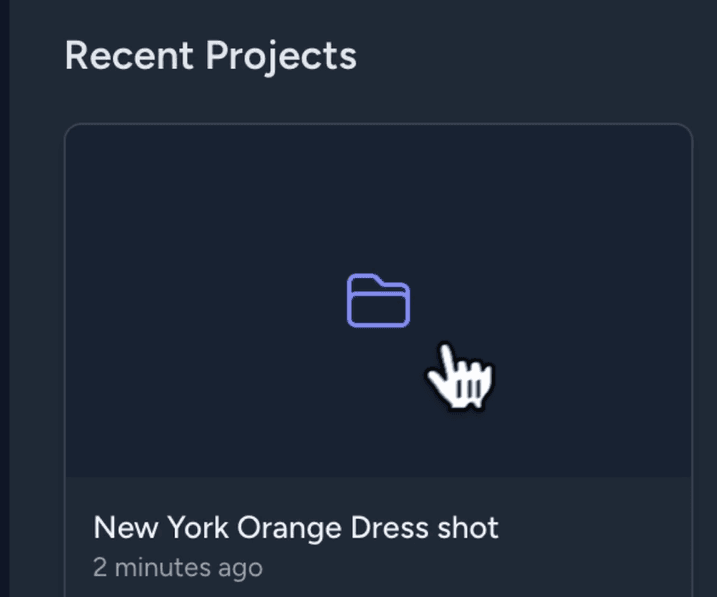
1. Open Recent Projects and create a new project
Go to the Vision Dashboard and open the Recent Projects tab.
Click + Create New Project to open the project creation form.
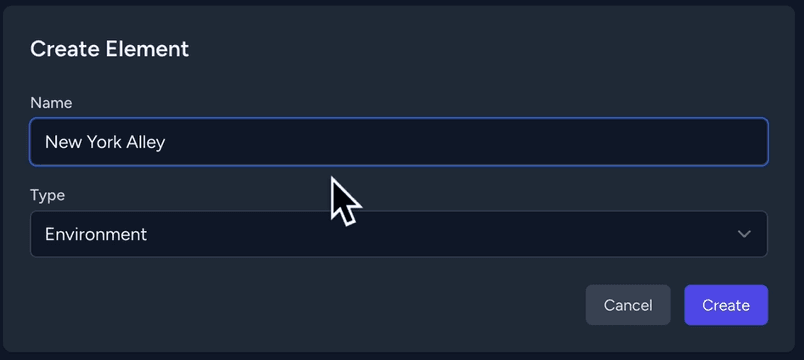
2. Fill in the required fields
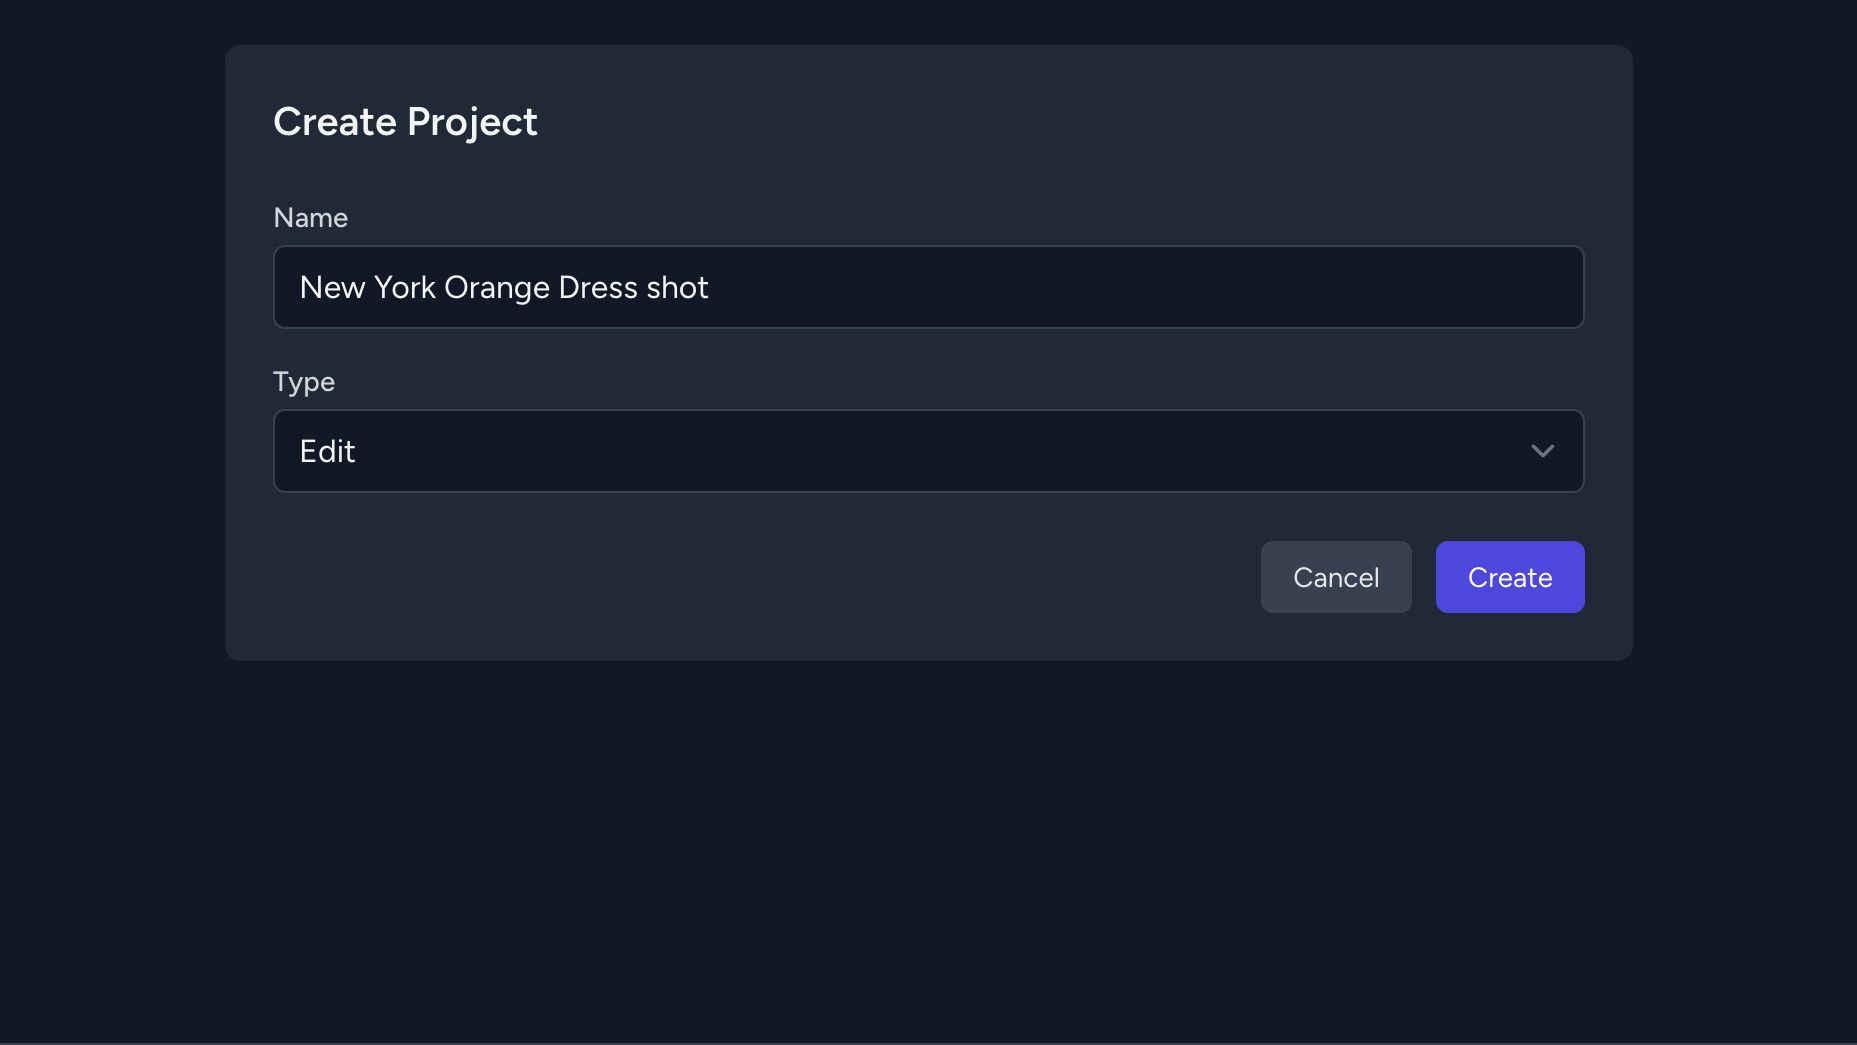
Enter a name in the Name field.
Tip: Use a descriptive name that includes the subject and setting, for example: New York Orange Dress Shot.
In the Type field, select Edit, then click Create.

3. Write your prompt
In the prompt field, describe the scene you want to generate.
Example:
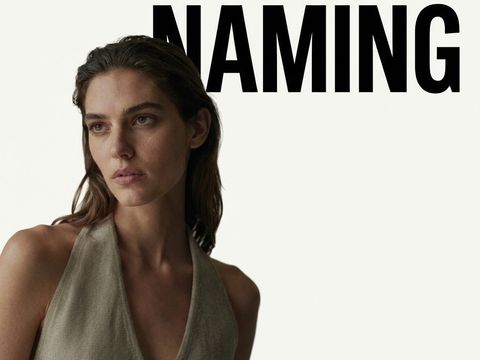
The subject: A photorealistic woman - virtual luxury fashion model. Photorealistic body proportions, vogue fashion pose.
Apparel: Use garments from clothing reference images and drape on the subject.

4. Choose a model version
Select the model version that fits your needs:
- Standard - cheaper, lower output quality
- Pro - noticeably better quality than Standard
- Pro v2 - same price as Pro, but delivers even higher quality results

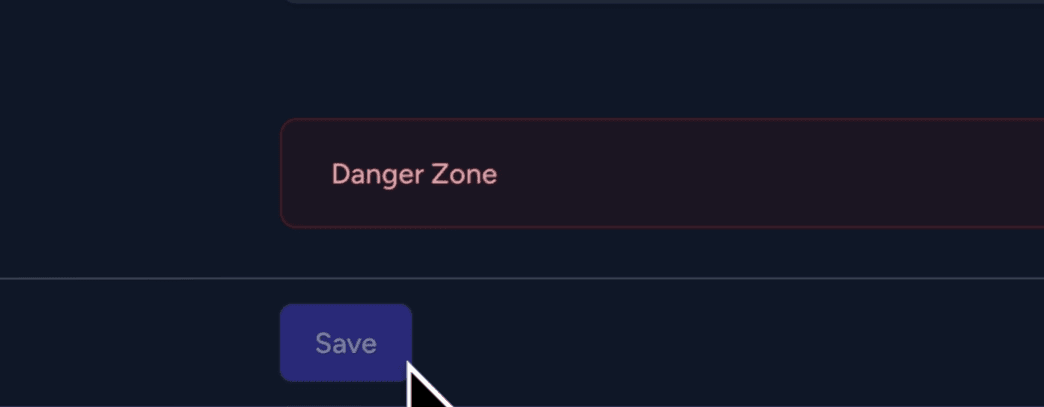
5. Save the project
Click Save at the bottom of the page to store your project settings before continuing.

Part 2 - Adding a product
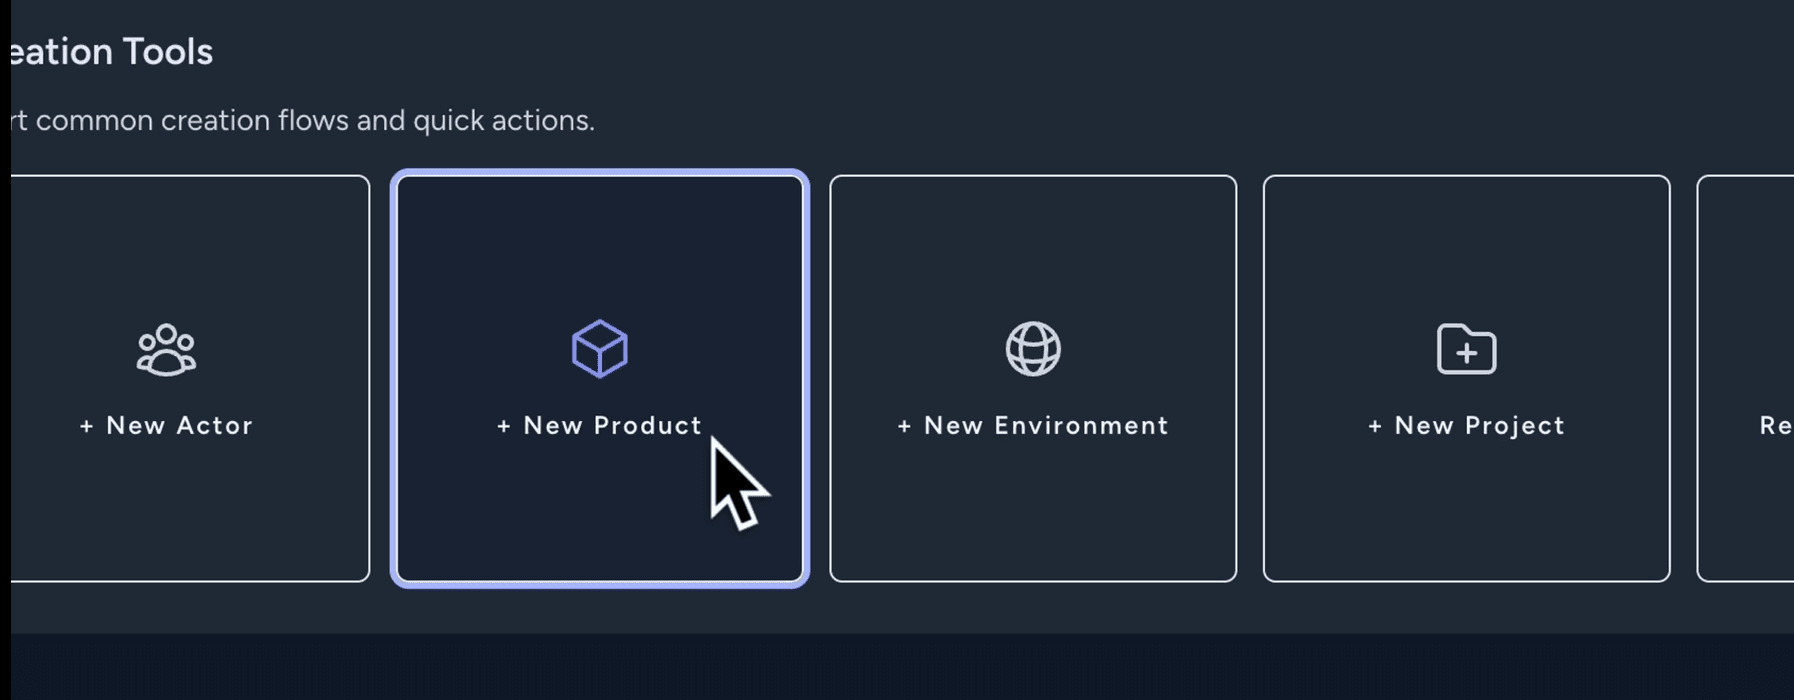
6. Open the product creation form
Go to the Dashboard, scroll to the Creation Tools section, and click + New Product.
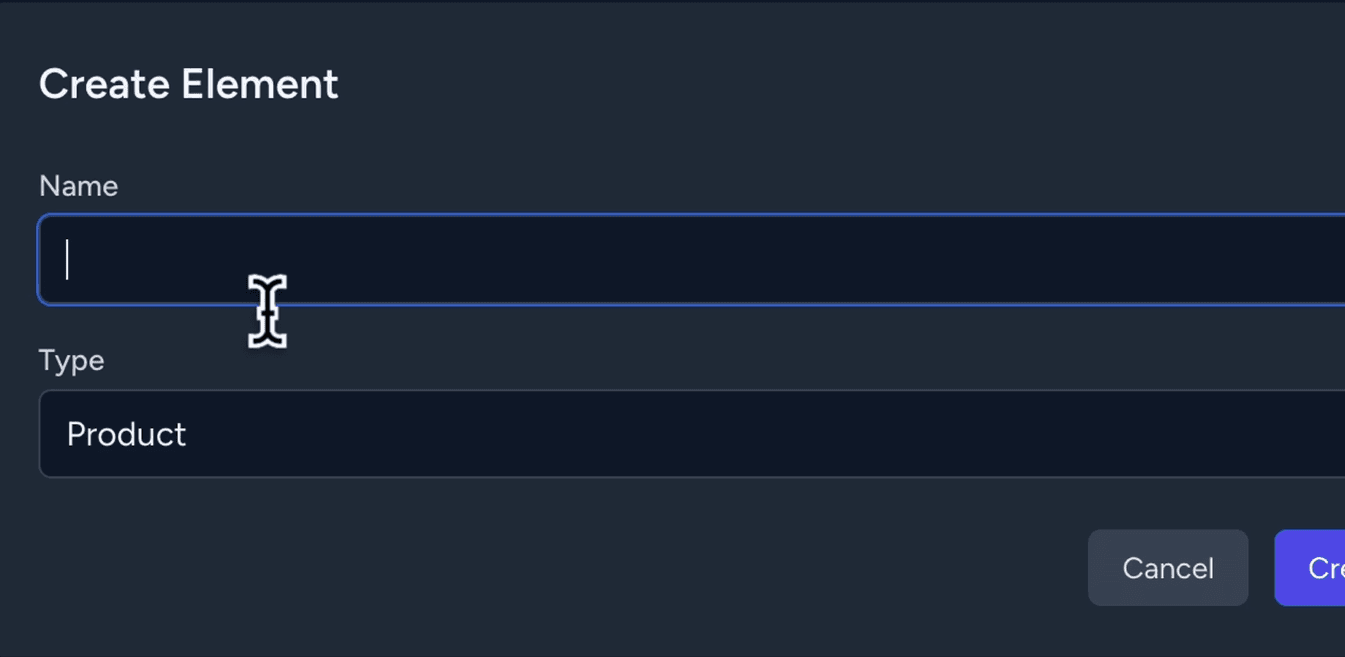
7. Enter the product details
Enter a name in the Name field, for example: Orange Dress.
Click Create.
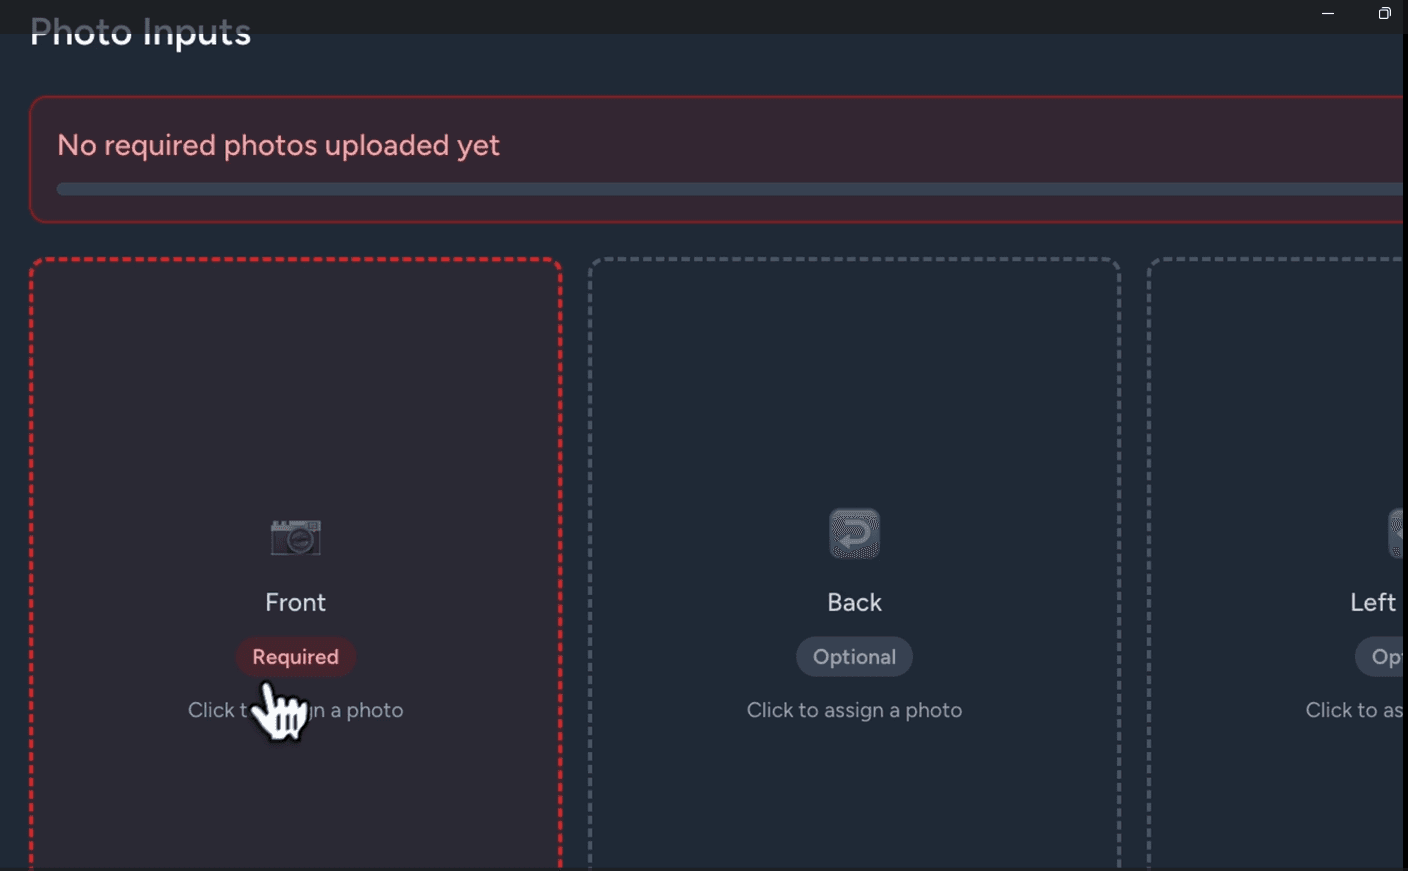
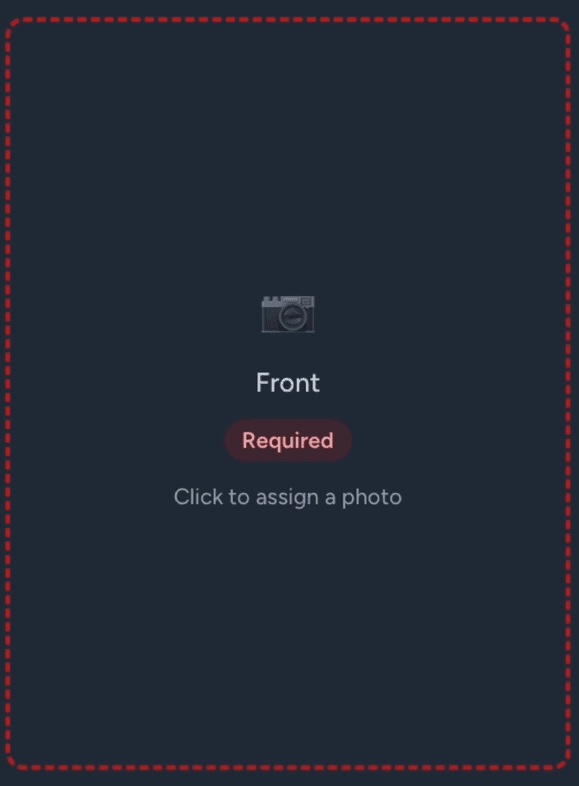
8. Upload a product image
Scroll down to the Photo Inputs section.
Click the Front slot. Drag and drop your image or click to select it manually, then click Upload.
9. Save the product
Click Save at the bottom of the page.
Part 3 - Adding an actor
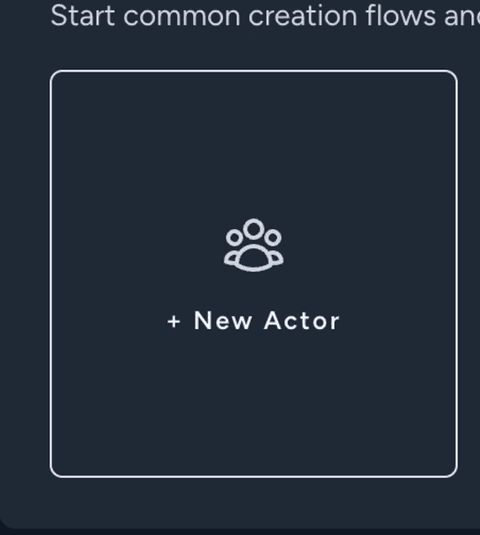
10. Open the actor creation form
Go to the Dashboard, scroll to Creation Tools, and click + New Actor.
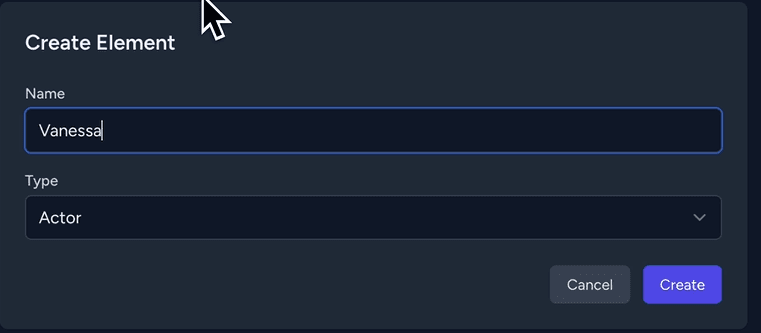
11. Enter the actor details
Enter a name in the Name field, for example: Vanessa.
In the Type field, select Actor, then click Create.
12. Upload an actor image
Scroll down to the Photo Inputs section.
Click the Front slot. Drag and drop your image or click to select it manually, then click Upload.
13. Save the actor
Click Save at the bottom of the page.
Part 4 - Adding an environment
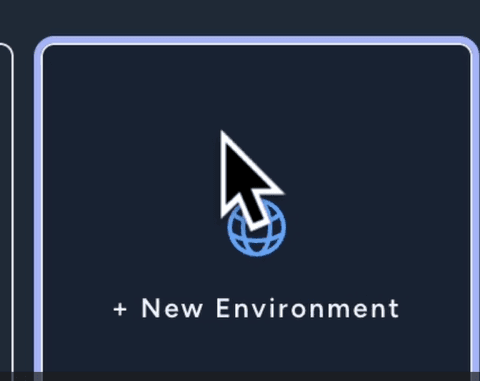
14. Open the environment creation form
Go to the Dashboard, scroll to Creation Tools, and click + New Environment.
15. Enter the environment details
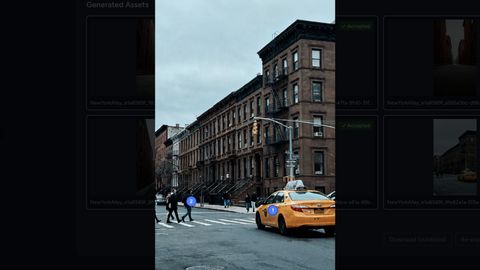
Enter a name in the Name field, for example: New York Alley - Overcast.
Click Create.
16. Upload an environment image
Scroll down to the Photo Inputs section.
Click the Front slot. Upload your image and click Upload.
Tip: If you have already added an environment image as a product, you can select it from the library instead of uploading it again.
17. Save the environment
Click Save at the bottom of the page.
Part 5 - Configuring and running the project
18. Return to your project
Go to the Dashboard, open the Recent Projects tab, and click the project you created in Part 1.
19. Add elements to the scene
Inside the project, scroll to the Scene Elements section.
In the Product tab, click Include Product and select the product you added earlier.
Repeat the same steps in the Actor and Environment tabs.
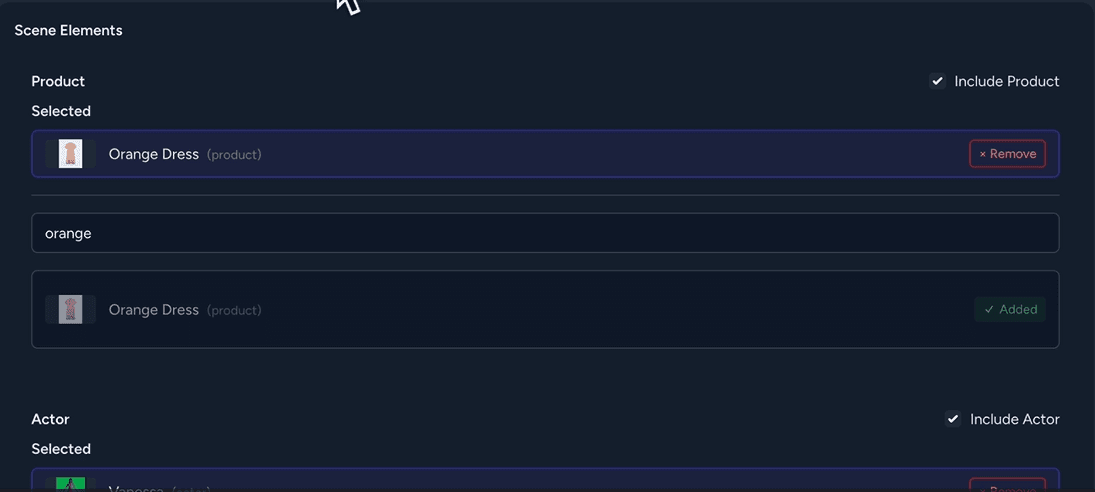
Note: Each combination of product, actor, and environment will generate a separate image. The more elements you add, the more images will be generated.
20. Review and adjust the prompt
Check the prompt you wrote in step 3. Edit it if needed before running the generation.
21. Run the generation
Click Run Edits to start generating images.

Part 6 - Reviewing the results
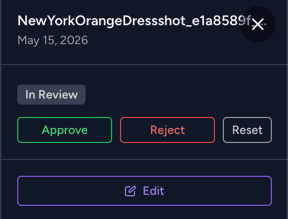
22. Evaluate each generated image
Click a generated image to open it.
- If you’re happy with the result, click Approve.
- If the result isn’t right, click Reject. You can also add a comment explaining what needs to change.
23. Refine and regenerate if needed
If an image was rejected, update the prompt based on your feedback and click Run Edits to generate a new version.
Tip: The more specific your prompt adjustments, the better the results - describe exactly what you want to change, such as lighting, pose, or background details.
Example:
Style: Editorial Fashion Photography, Quiet Luxury, Old Money Aesthetic.
Lighting: Soft, flat, overcast natural light. Cloudy midday. Cool, muted tones - no harsh shadows, no warm golden cast. Slight underexposure for a moody, restrained feel.
The subject: A photorealistic woman - virtual luxury fashion model. Photorealistic body proportions, vogue fashion pose.
Apparel: Use garments from clothing reference images and drape on the subject.
Lighting & Interaction: Subject lit to match flat overcast light of the alley scene. Subtle cool shadows on face and clothing. Soft shadow cast onto asphalt beneath bare feet. Slight desaturation in color grade - cool blue-grey ambient tones bleeding into the warm fabric.
Background & Environment: Use the brick alley exactly from the reference image. Seamless composite. Preserve architecture, asphalt texture, overcast sky, muted brick tones, and atmospheric depth precisely.
Camera & Aesthetic: Leica M11, 50mm f/1.8. Shallow depth of field - subject sharp, background softly blurred. Ultra-high detail in skin, hair, fabric weave. Clean, quiet, high-end editorial. Subtle film grain.
Next steps
You have completed a full Edit project in Vision - from setting up the project and adding elements, to generating and reviewing composite images.