Learn how to create a Generate project type in Vision, produce your first AI-generated image, and set up an Environment that can be reused across Edit projects.
After this guide, you’ll know how to set up a Generate project from scratch - including writing a prompt, choosing an output size, and reviewing and exporting your generated image. You’ll also know how to upload an environment image, save it as a reusable element, and link it to a project so it appears in every generated composite.
This workflow works best for creating background environments and standalone visuals for fashion and lifestyle photography, where you want a consistent location across multiple Edit projects.
Before you start, make sure you have:
- access to your Vision account
- a clear idea of the scene you want to generate, described in English
- an environment image ready in PNG, JPG, or WEBP format
- files no larger than 10 MB each
- credits available in your account to run the generation
Part 1 - Creating a project
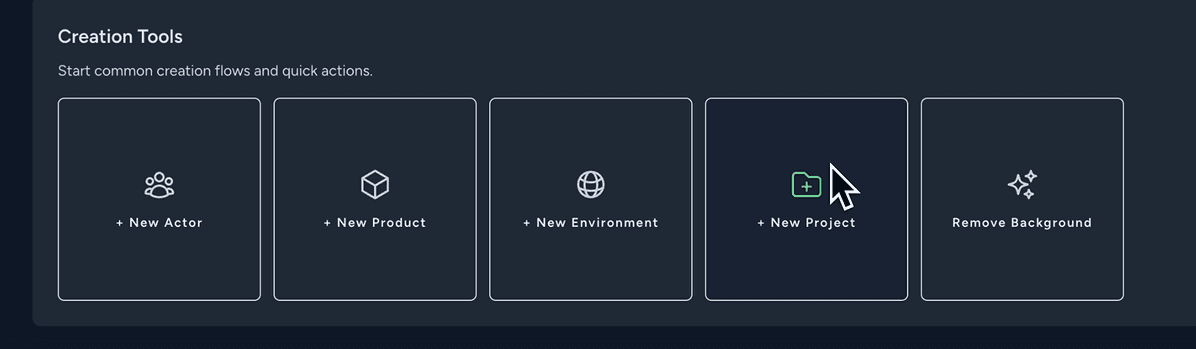
Go to the Dashboard, scroll down to Creation Tools, and click + New Project.
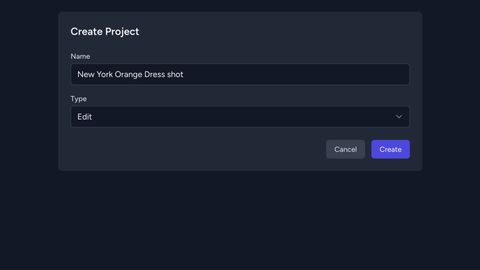
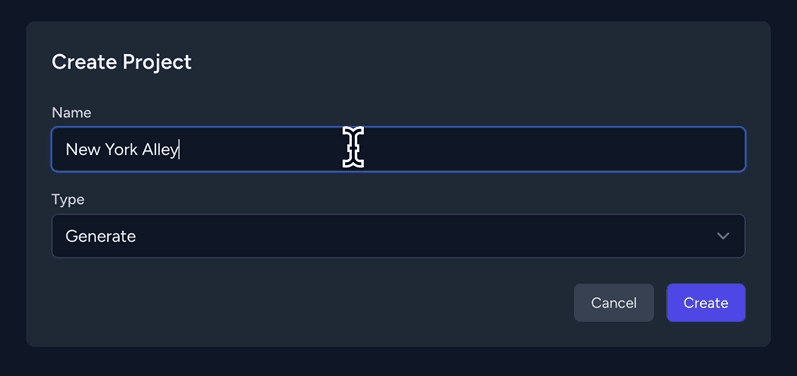
Enter a name in the Name field (e.g. New York Alley). In the Type field, select Generate, then click Create.
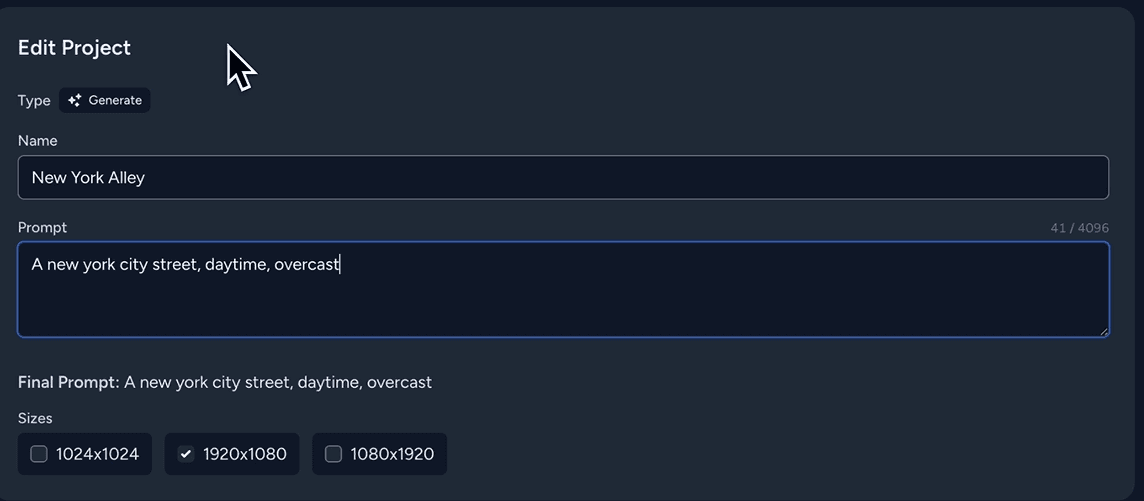
Fill in the Prompt field describing the scene you want to generate. Then select the output size (e.g. 1920x1080).
Scroll to the bottom and click Generate.

Part 2 - Reviewing results
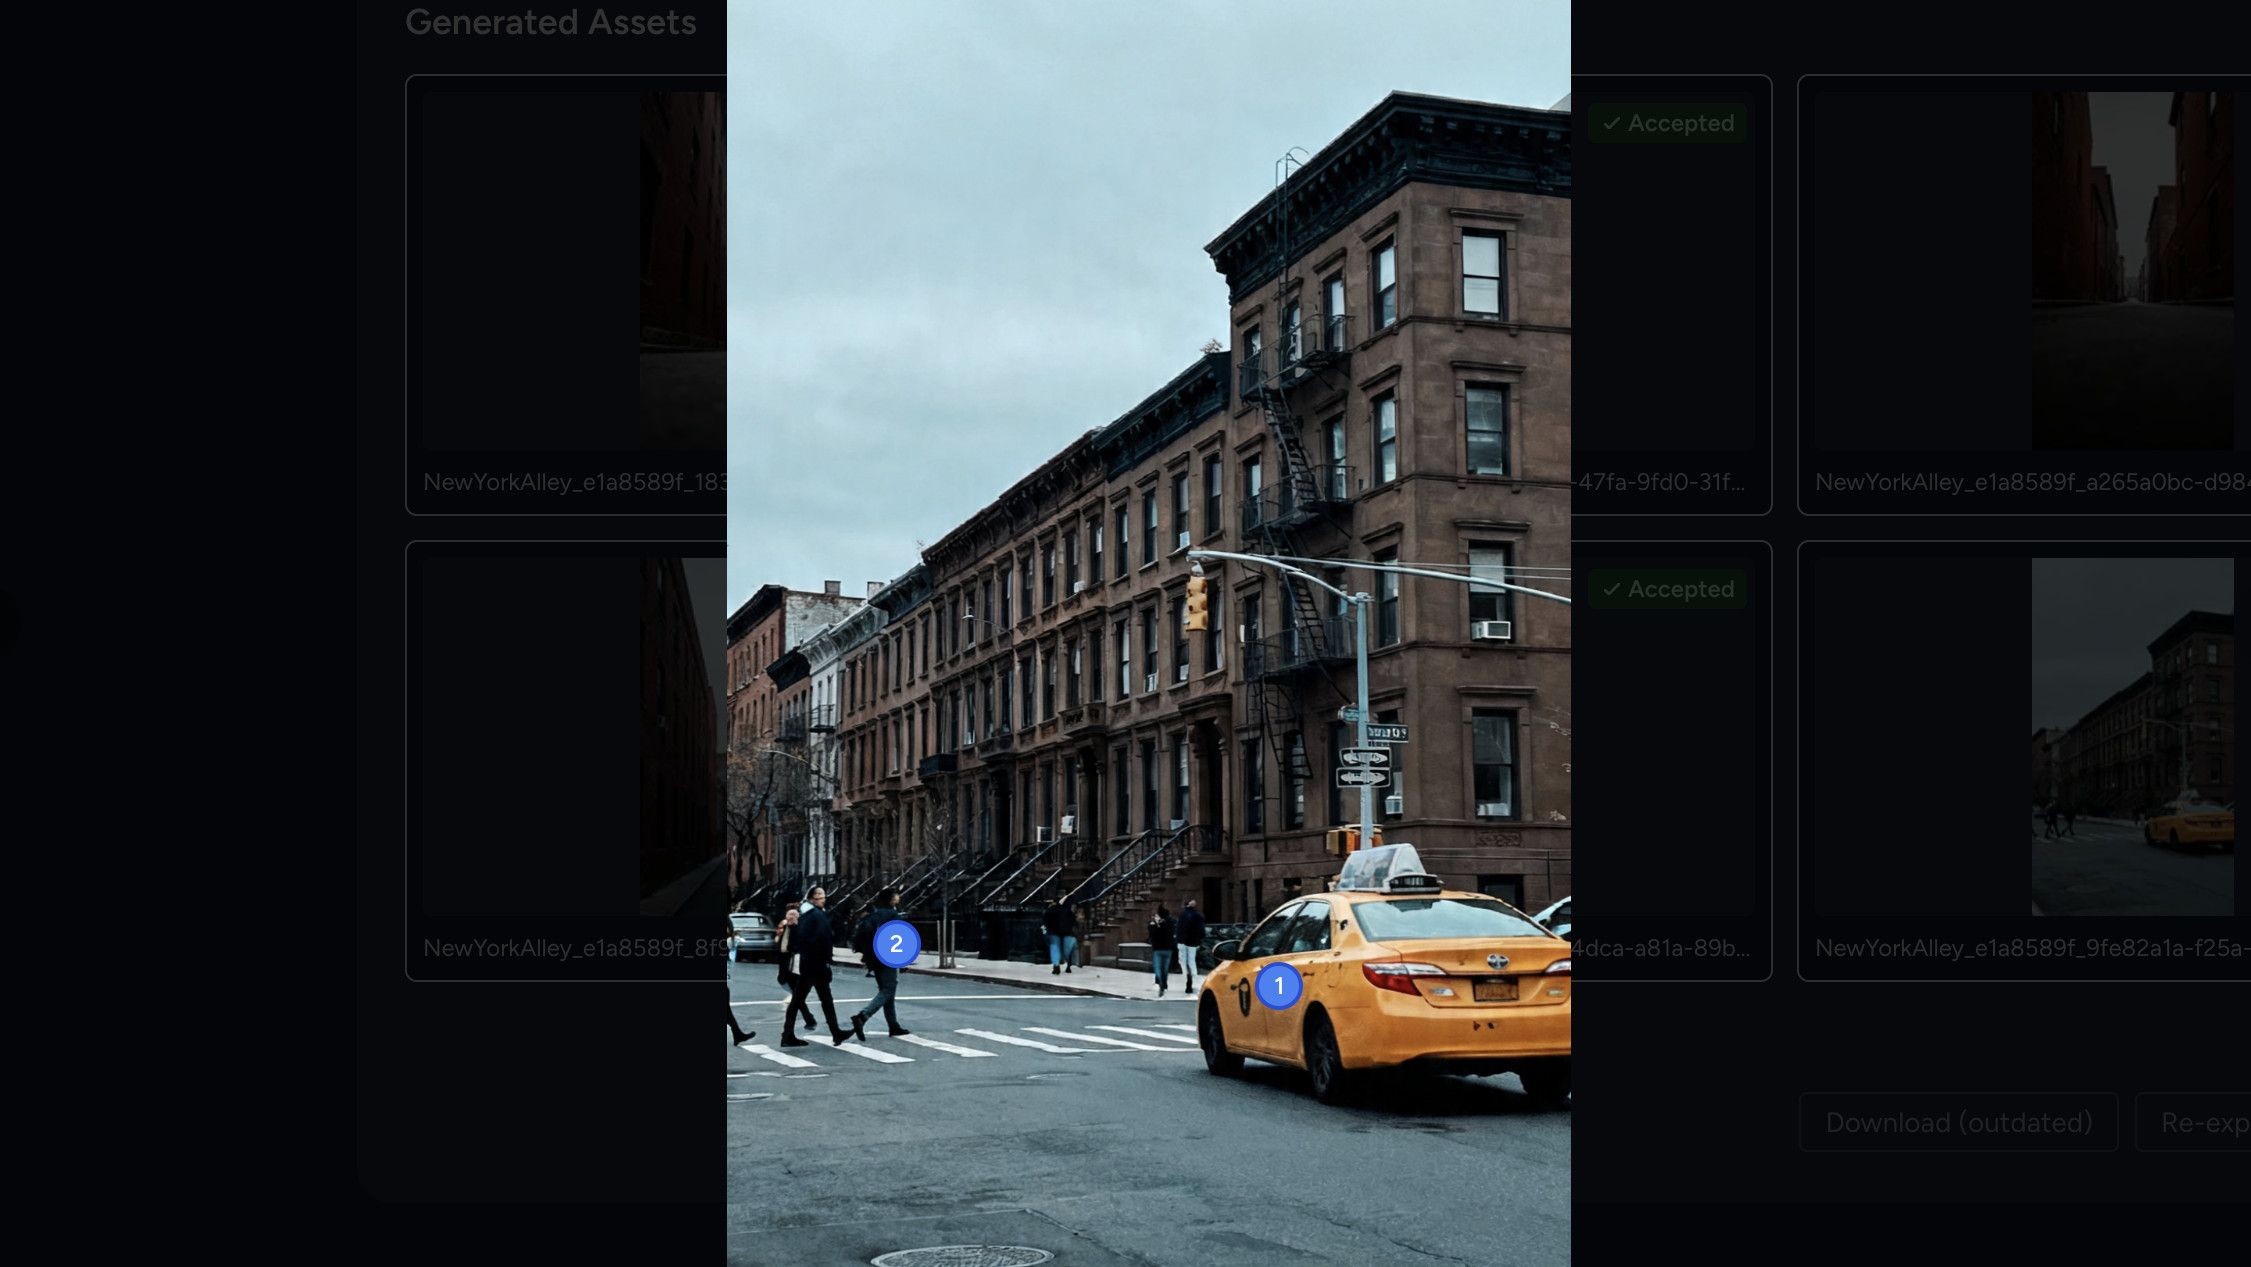
Wait for the file to appear in the Generated Assets section.
If it doesn’t appear after a while, refresh the page with Ctrl + R on PC or Command + R on Mac.
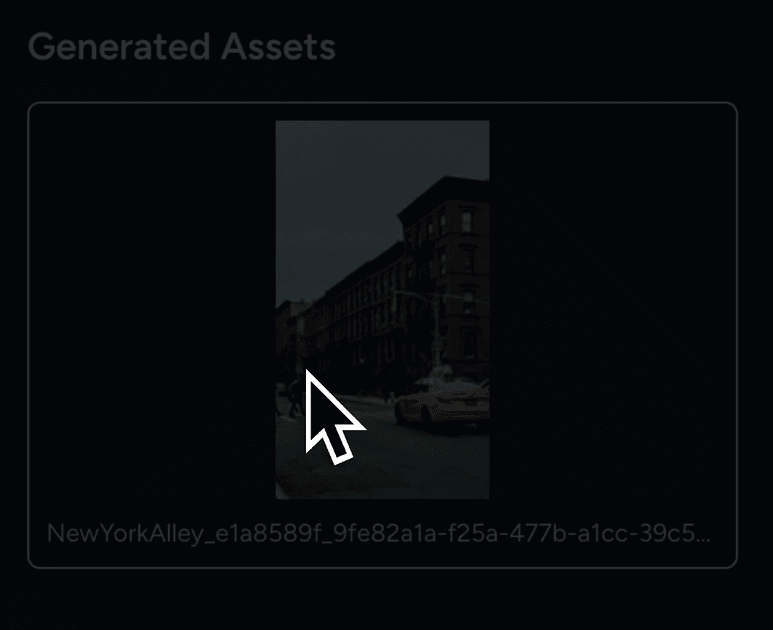
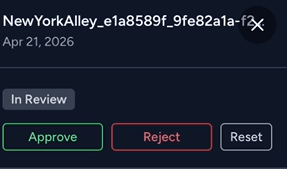
Open the file to preview it. Click Approve if you’re happy with the result, or Reject if not.
Once accepted, close the preview, select the file, and click Prepare Export.

Click Download ZIP - the file will be downloaded.

Part 3 - Creating an environment
Go to the Dashboard, scroll down to Creation Tools, and click + New Environment.
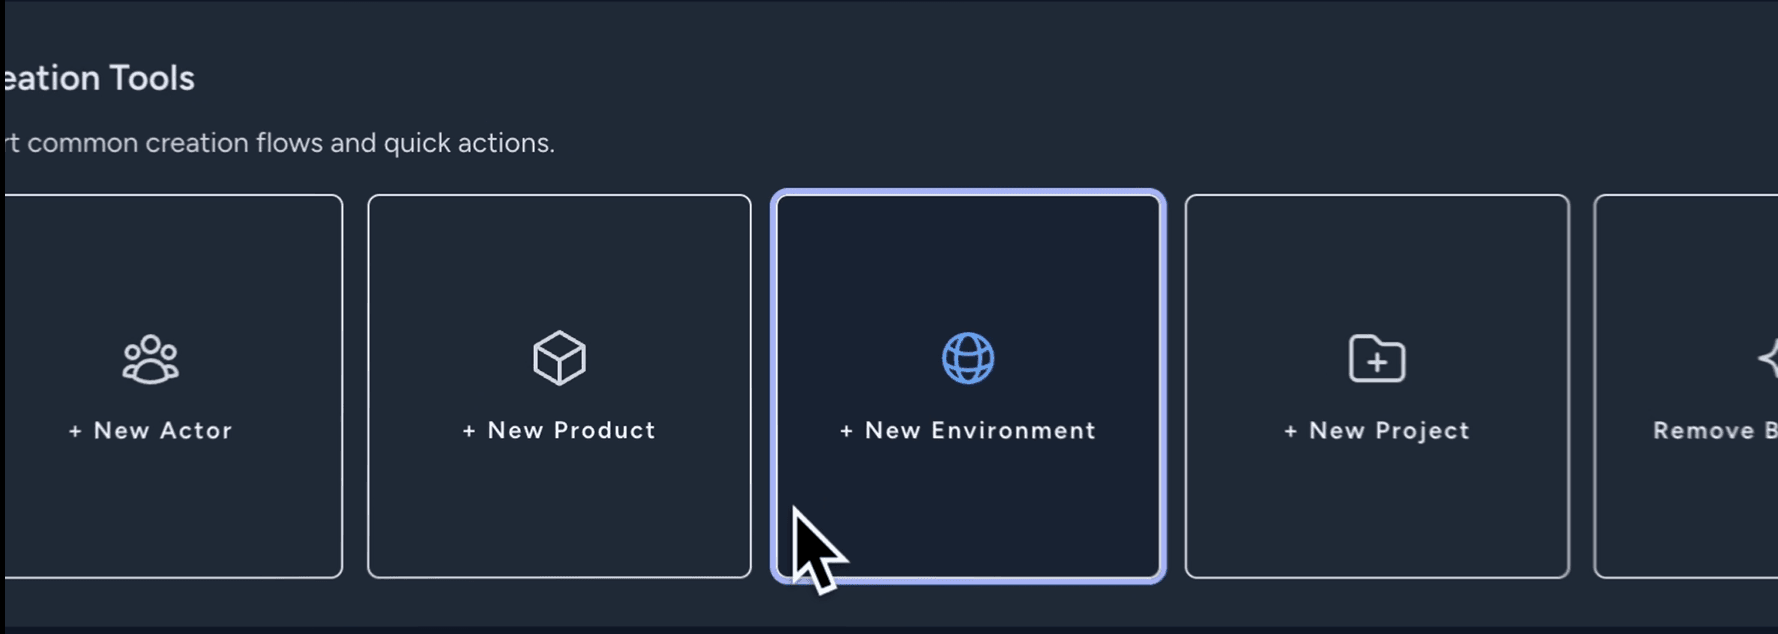
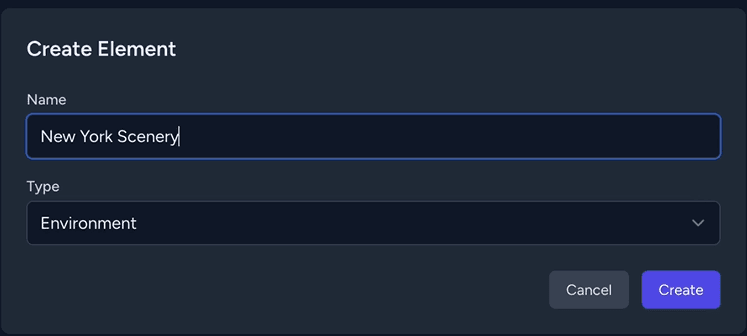
Enter a name in the Name field (e.g. New York Scenery). Set the Type to Environment, then click Create.
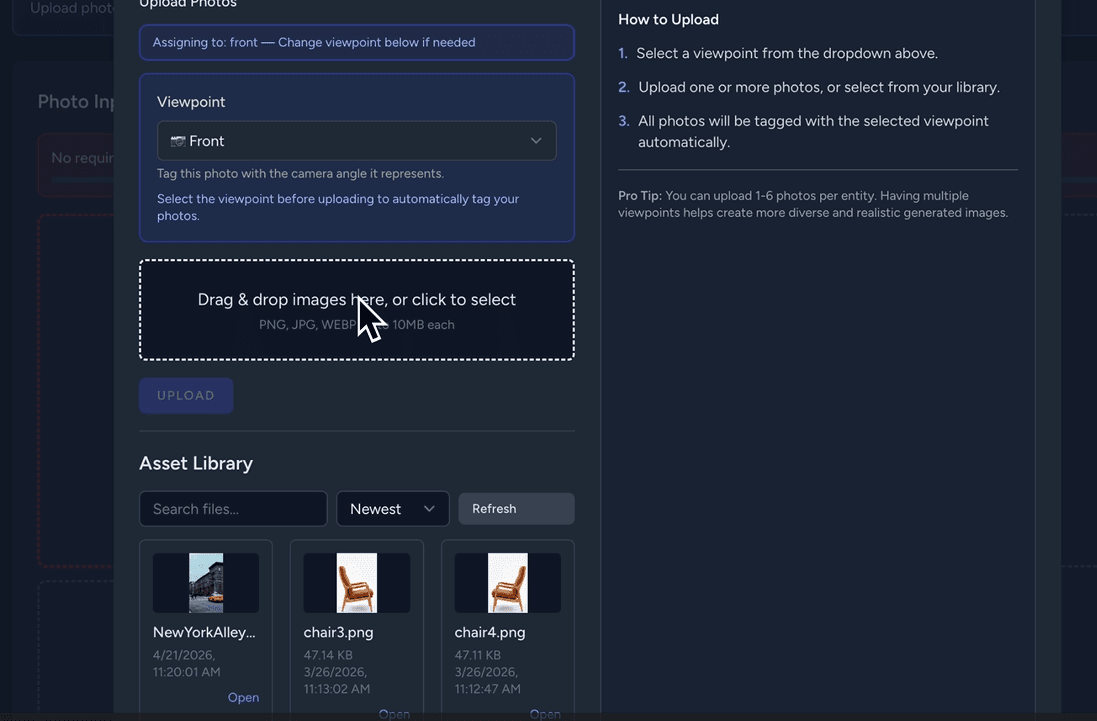
Scroll down to the Photo Inputs section. Click the Front slot, drag and drop your image or click to select it, then click Upload.
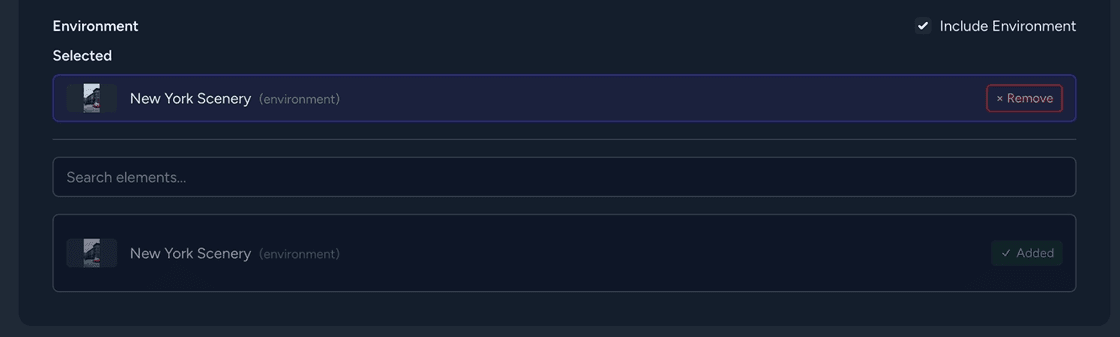
Part 4 - Adding the environment to a project
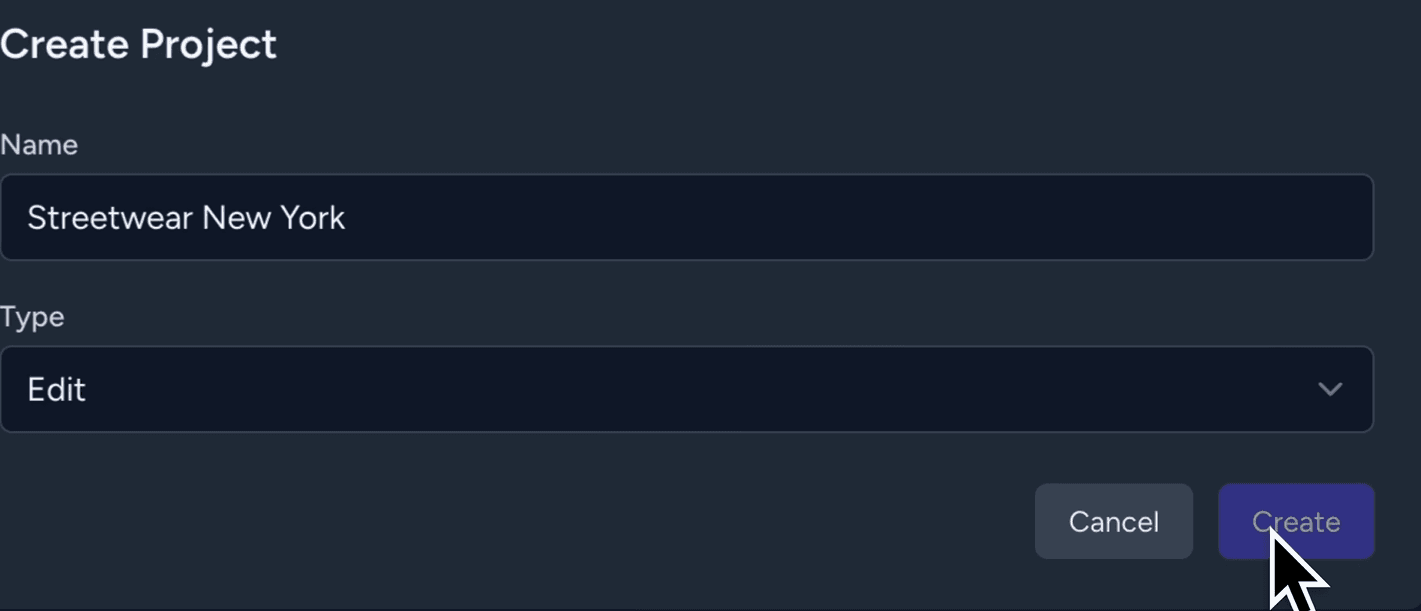
Go to the Dashboard, click Create, enter a name (e.g. Streetwear New York), set the Type to Edit, and click Create.
Inside the project, navigate to Scene Elements → Environment. Enable Include Environment, then click Add to attach your environment. It will now be included in every generated image.