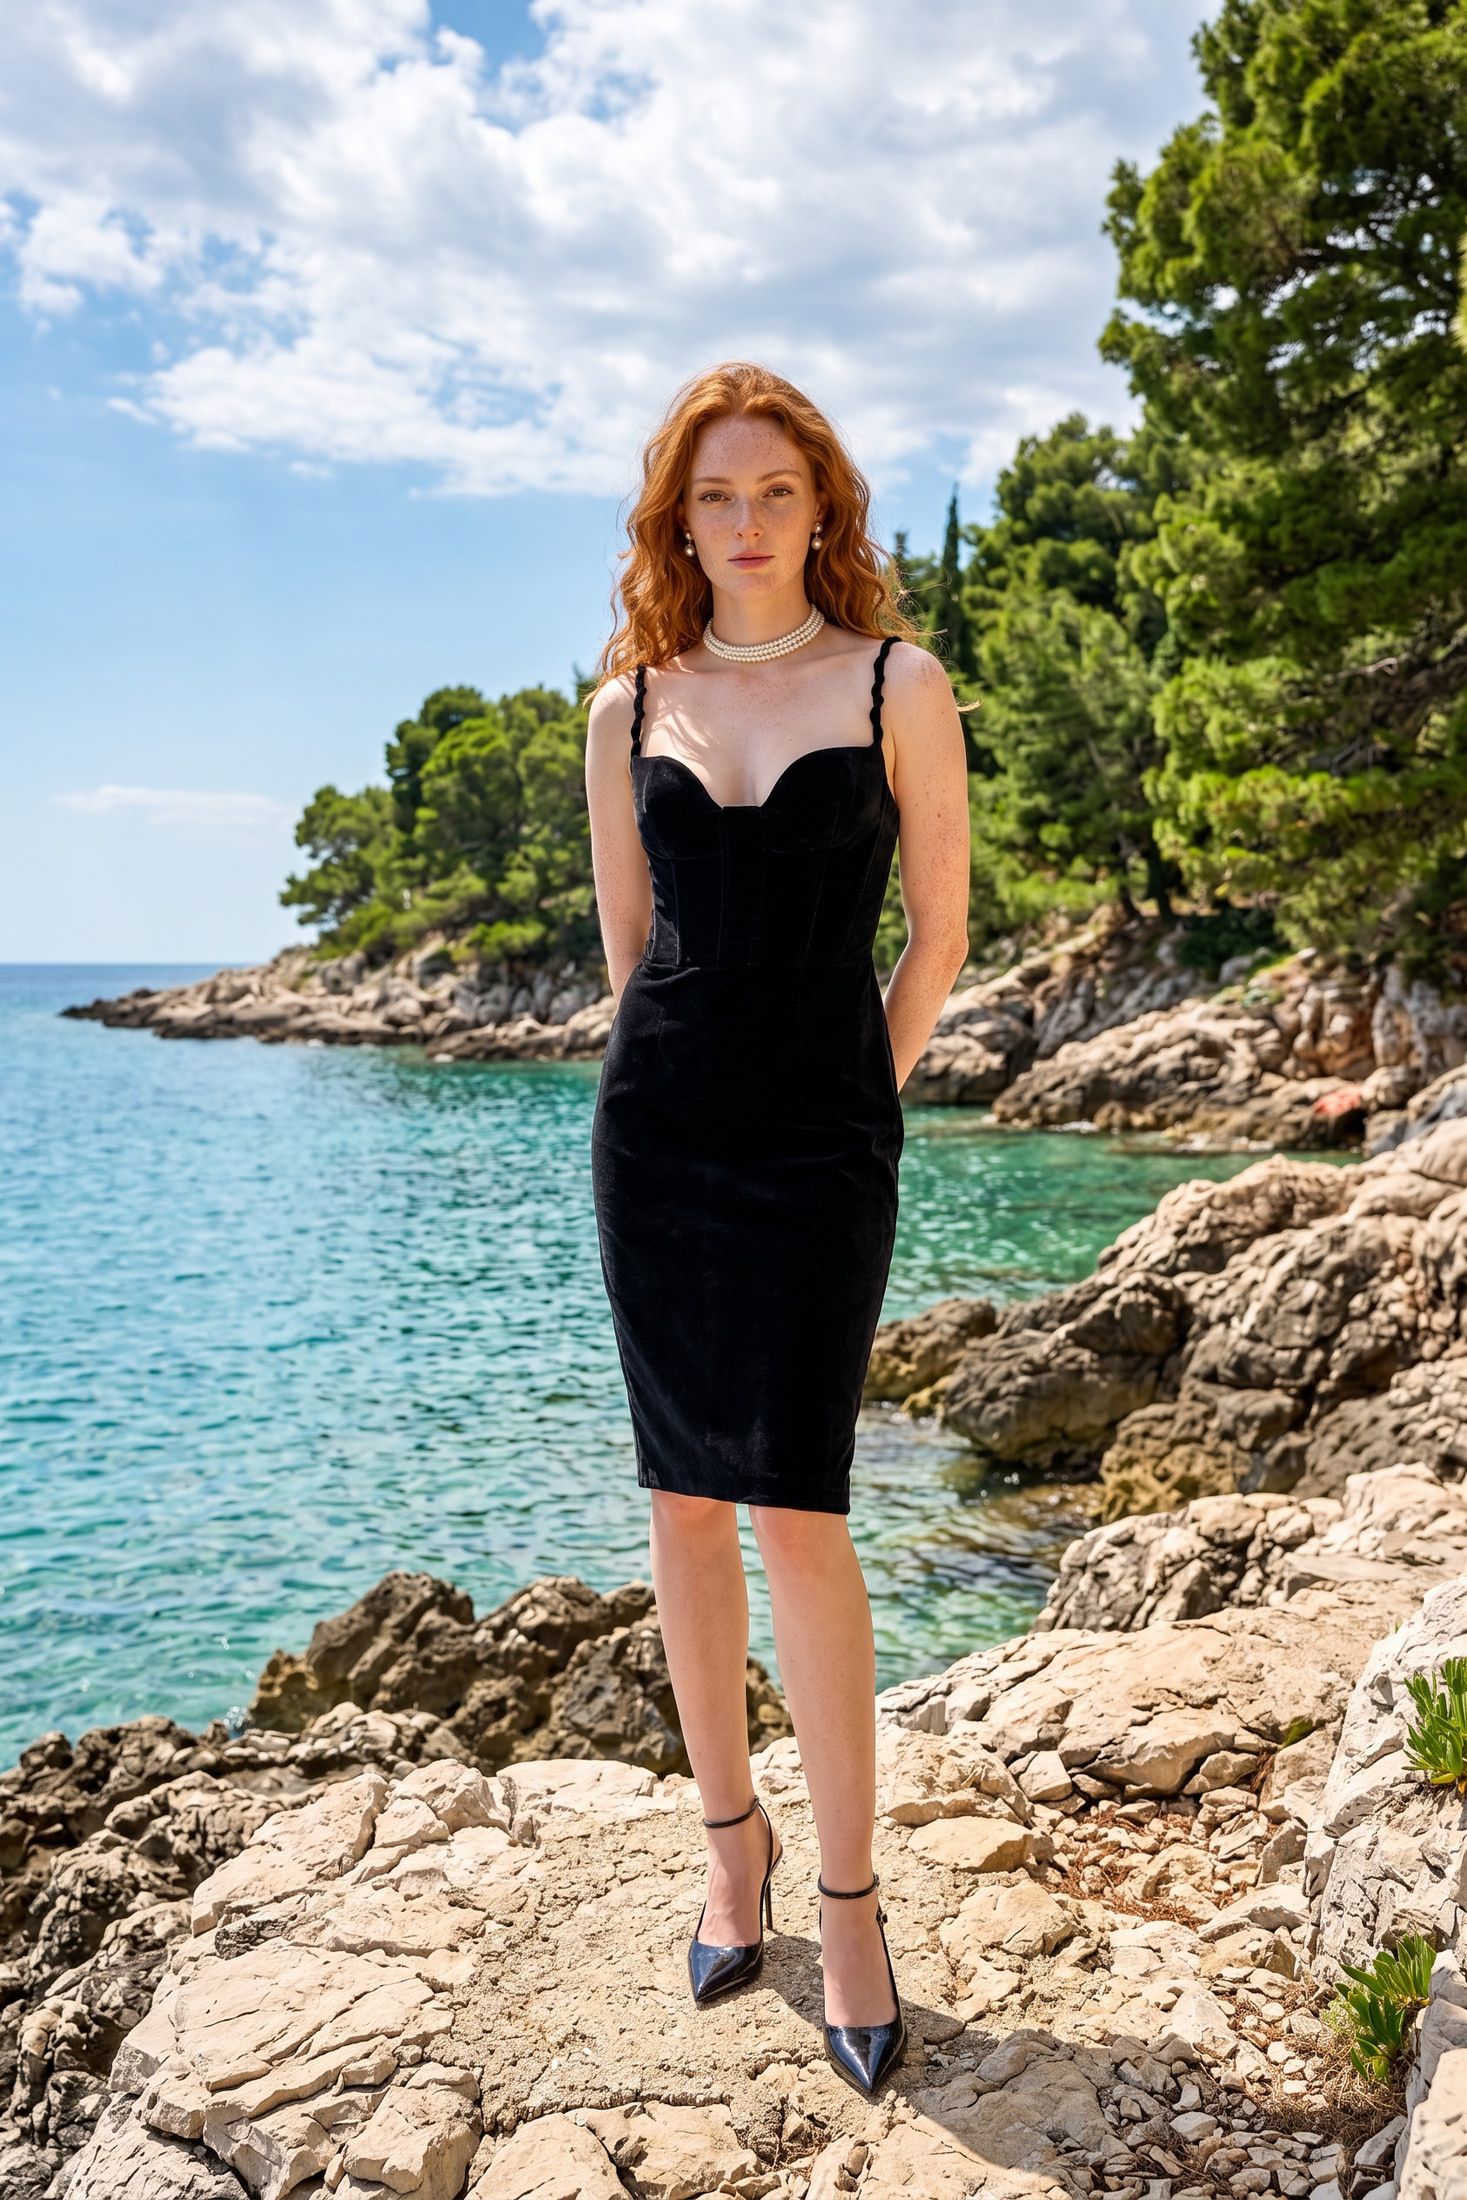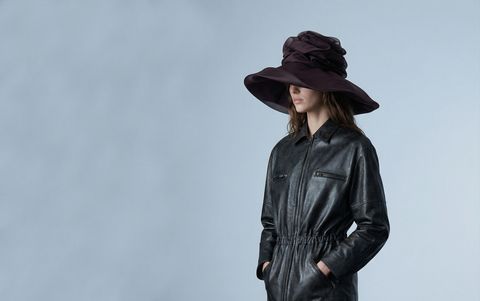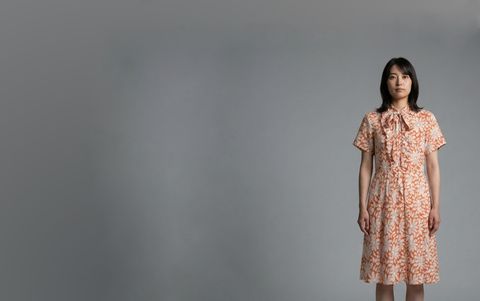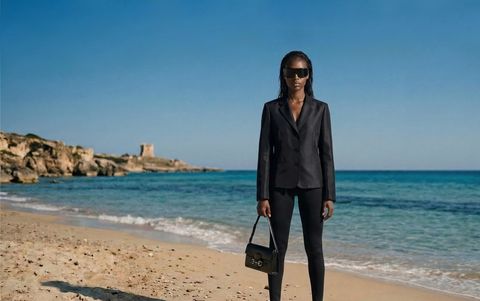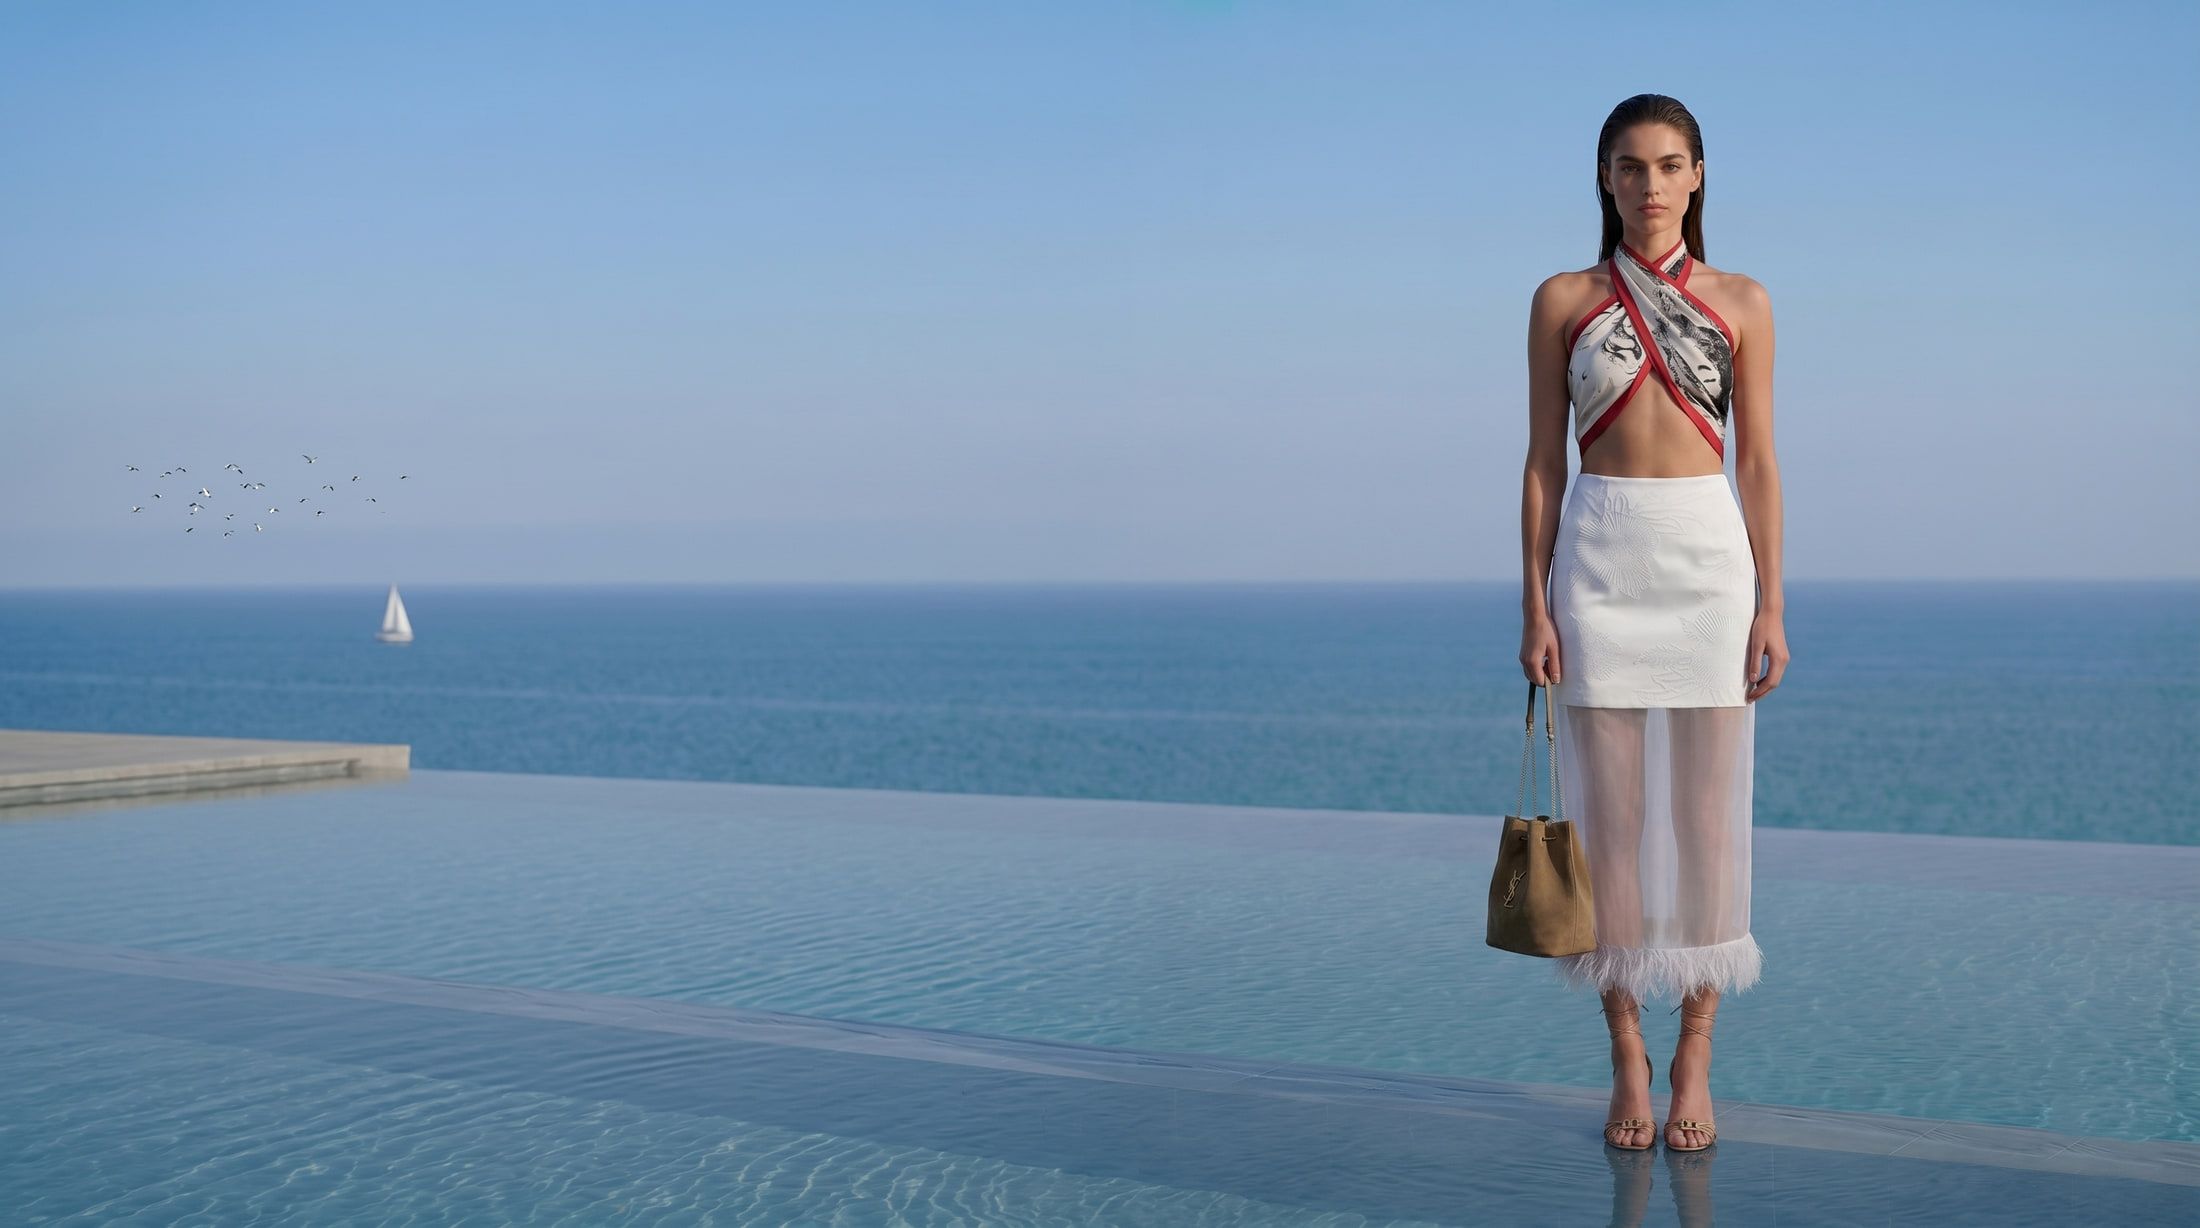
A lookbook shows a collection as outfits on one person in one world. The traditional route is a shoot. That means a model, a photographer, a location, a stylist and a day of changes between looks. An AI lookbook is a lookbook without a photoshoot. It keeps the output and drops the shoot. The garments still have to exist, and someone still has to pick the frames worth keeping.
This is a worked walkthrough of that method in Vision, with the numbers shown. There is no customer story here. The credit math comes from Vision’s published credit table and the time from its stated generation speed. The judgment calls are marked as yours.
The brief
The collection has 10 outfits. Each outfit goes on one Actor in two Poses and in two Environments. That gives 10 × 2 × 2 = 40 looks. Every image generates at 2K.
A look here means one finished frame: one outfit in one Pose in one Environment. Two Poses show each outfit from two angles. Two Environments give the lookbook a studio half and a location half.
Step 1: turn every garment into a Product
A Product is a reusable garment asset. You upload it once and use it in every Project after that. Vision removes the background at upload.
Photograph each piece flat or on a hanger with the whole garment in frame. Upload the front and the back. Multiple angles are recommended, not required. A single image works, but it limits how faithful the back and side views stay. Vision accepts JPG, PNG, WEBP, AVIF and HEIF/HEIC files up to 10 MB each. It recommends at least 1000px on the shortest side.
Ten outfits rarely mean 30 separate pieces. A lookbook repeats a trouser under three tops or a coat over two dresses. Count the unique pieces first. That count is what you photograph and upload. If your catalog photos already cover front and back, this step is mostly uploading.
Step 2: build the Actor once
The Actor is the virtual model who wears every look. Build one in Actor Builder, which works like a character configurator in a game with photorealistic output. You can also start from a real person’s reference photo, with that person’s rights or permission.
One Actor across all 40 frames is what makes the lookbook read as one shoot. Every Project on your account can use it. The same person can front the next drop, the email campaign and the product pages without a new booking.
Step 3: set the two Environments
An Environment is a saved background or scene. You upload one or generate one from a text description. For this brief one Environment is a studio backdrop, which Vision offers as an option. The other is a location that matches the season, described in a sentence.
Vision matches lighting, shadow and perspective between the garment and the Environment. Keep the location light close to daylight if color matters in that half of the book. A warm scene warms the fabric with it, and our garment fidelity explainer shows why.
Step 4: garment sets and Poses in an Apparel Project
Open an Apparel Project and define 10 garment sets, one per outfit. Each garment set lists the Products that make up that look. Pick the Actor, the two Poses and the two Environments.
Simple mode needs no prompt. The garment sets and your picks drive the result, and nobody on the team has to write scene descriptions. Expert mode adds custom prompting when a look needs something the picks cannot express. For a first lookbook, start in Simple mode.
Choose the Poses with the garments in mind. A Pose with arms away from the body keeps sleeves separate from the torso. A Pose that turns the body shows the side seam and the drape of a skirt.
Step 5: the Shot List and the credit math
A Shot List is the selection of Products, Actors, Poses and Environments a Project generates in one run. You select, Vision shows the credit total and you run once. It loops through every combination.
Here is the arithmetic from the credit table:
| Line | Count | Credits each | Credits |
|---|---|---|---|
| Generate at 2K | 40 | 2 | 80 |
| Upscale keepers to 4K for print | 40 | 2 | 80 |
| Total with print upscale | 160 |
The Growth plan costs $29.99 a month and includes 200 credits. The 80 credits of generation fit with 120 to spare. Add the 4K upscale for a printed lookbook and the total is 160 credits, which still fits. The Starter plan’s 50 credits cover 25 images at 2K, so this brief needs Growth or a smaller first batch. On the Studio plan the 1,000 monthly credits cover the whole book several times over.
Time is the other number. Vision takes about 30 seconds per generation. Forty generations come to about 20 minutes of generation time.
Step 6: curation stays human
The afternoon in the title is mostly this step. Generation fills 20 minutes. Picking the frames for the book takes someone who knows the garments.
Go through every frame with the fidelity check. Check sleeves, print scale, hem length, closures, color against the sample and the back view. Reject any frame where the garment drifted from the real one. Then make the editorial call. For each outfit, decide whether both Poses earn a page or only the stronger one does.
Every generation costs credits, rejects included. Budget reruns before you start. On Growth the 120 credits left after generation pay for 60 reruns at 2K. Upscale all 40 keepers to 4K as well and the headroom drops to 40 credits. That pays for 20 reruns. Upscale after curation, so you only pay to enlarge frames that made the cut.
What the afternoon does not cover
The garments have to exist. Vision stages products you have. It does not design samples or photograph them for you.
The layout is yours. Vision delivers images. The spreads, the type and the order of the pages happen in your design tool.
Motion is out of scope. Vision makes still images, so a video lookbook needs another tool.
Likeness and disclosure need a decision. An Actor built from scratch in Actor Builder starts from no real person. A real-person reference needs that person’s rights or permission. Our 2026 regulations explainer covers the disclosure rules that apply to AI images of people.
Try the flow before the full 40
Vision’s Free plan has 10 credits and needs no card. That covers five images at 2K inside one example project, with a watermark on the output. It is enough to see the flow before you commit. The 7-day trial on any paid plan is the path for the full 40. It needs a card on file and comes with no watermark and every feature.
For the model side of the method, our explainer on virtual models for apparel covers how Actors work and where they fail. Plans and credit costs are on the pricing page. The fashion brands page shows the Apparel Project flow, and the gallery has finished examples.