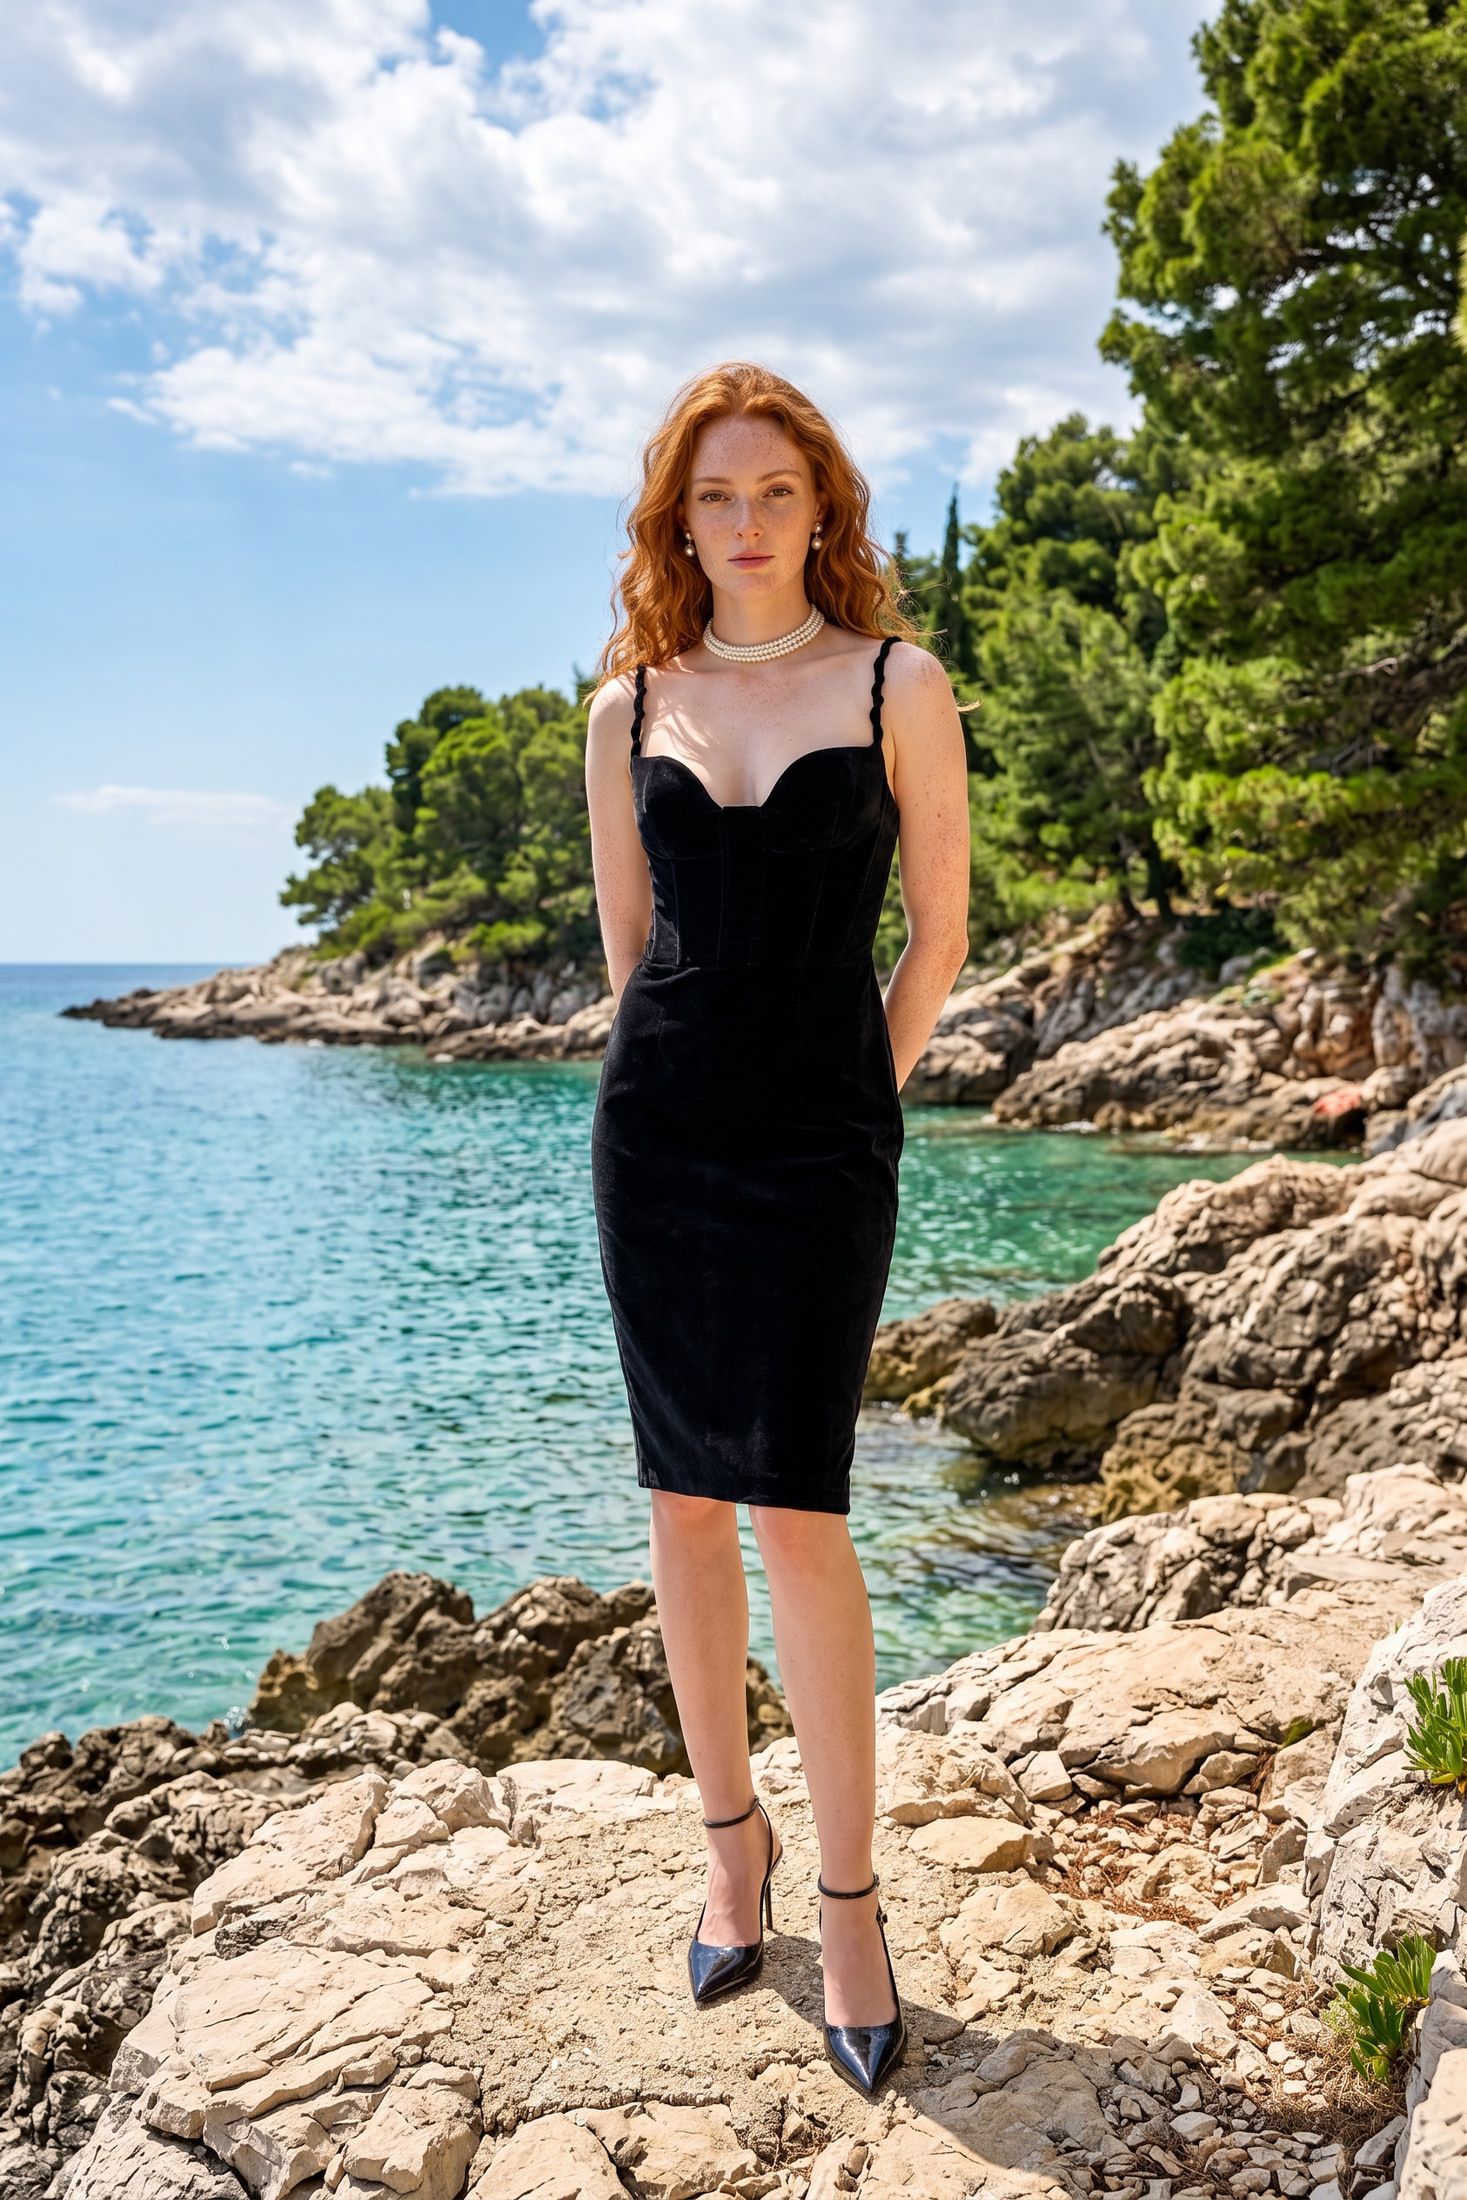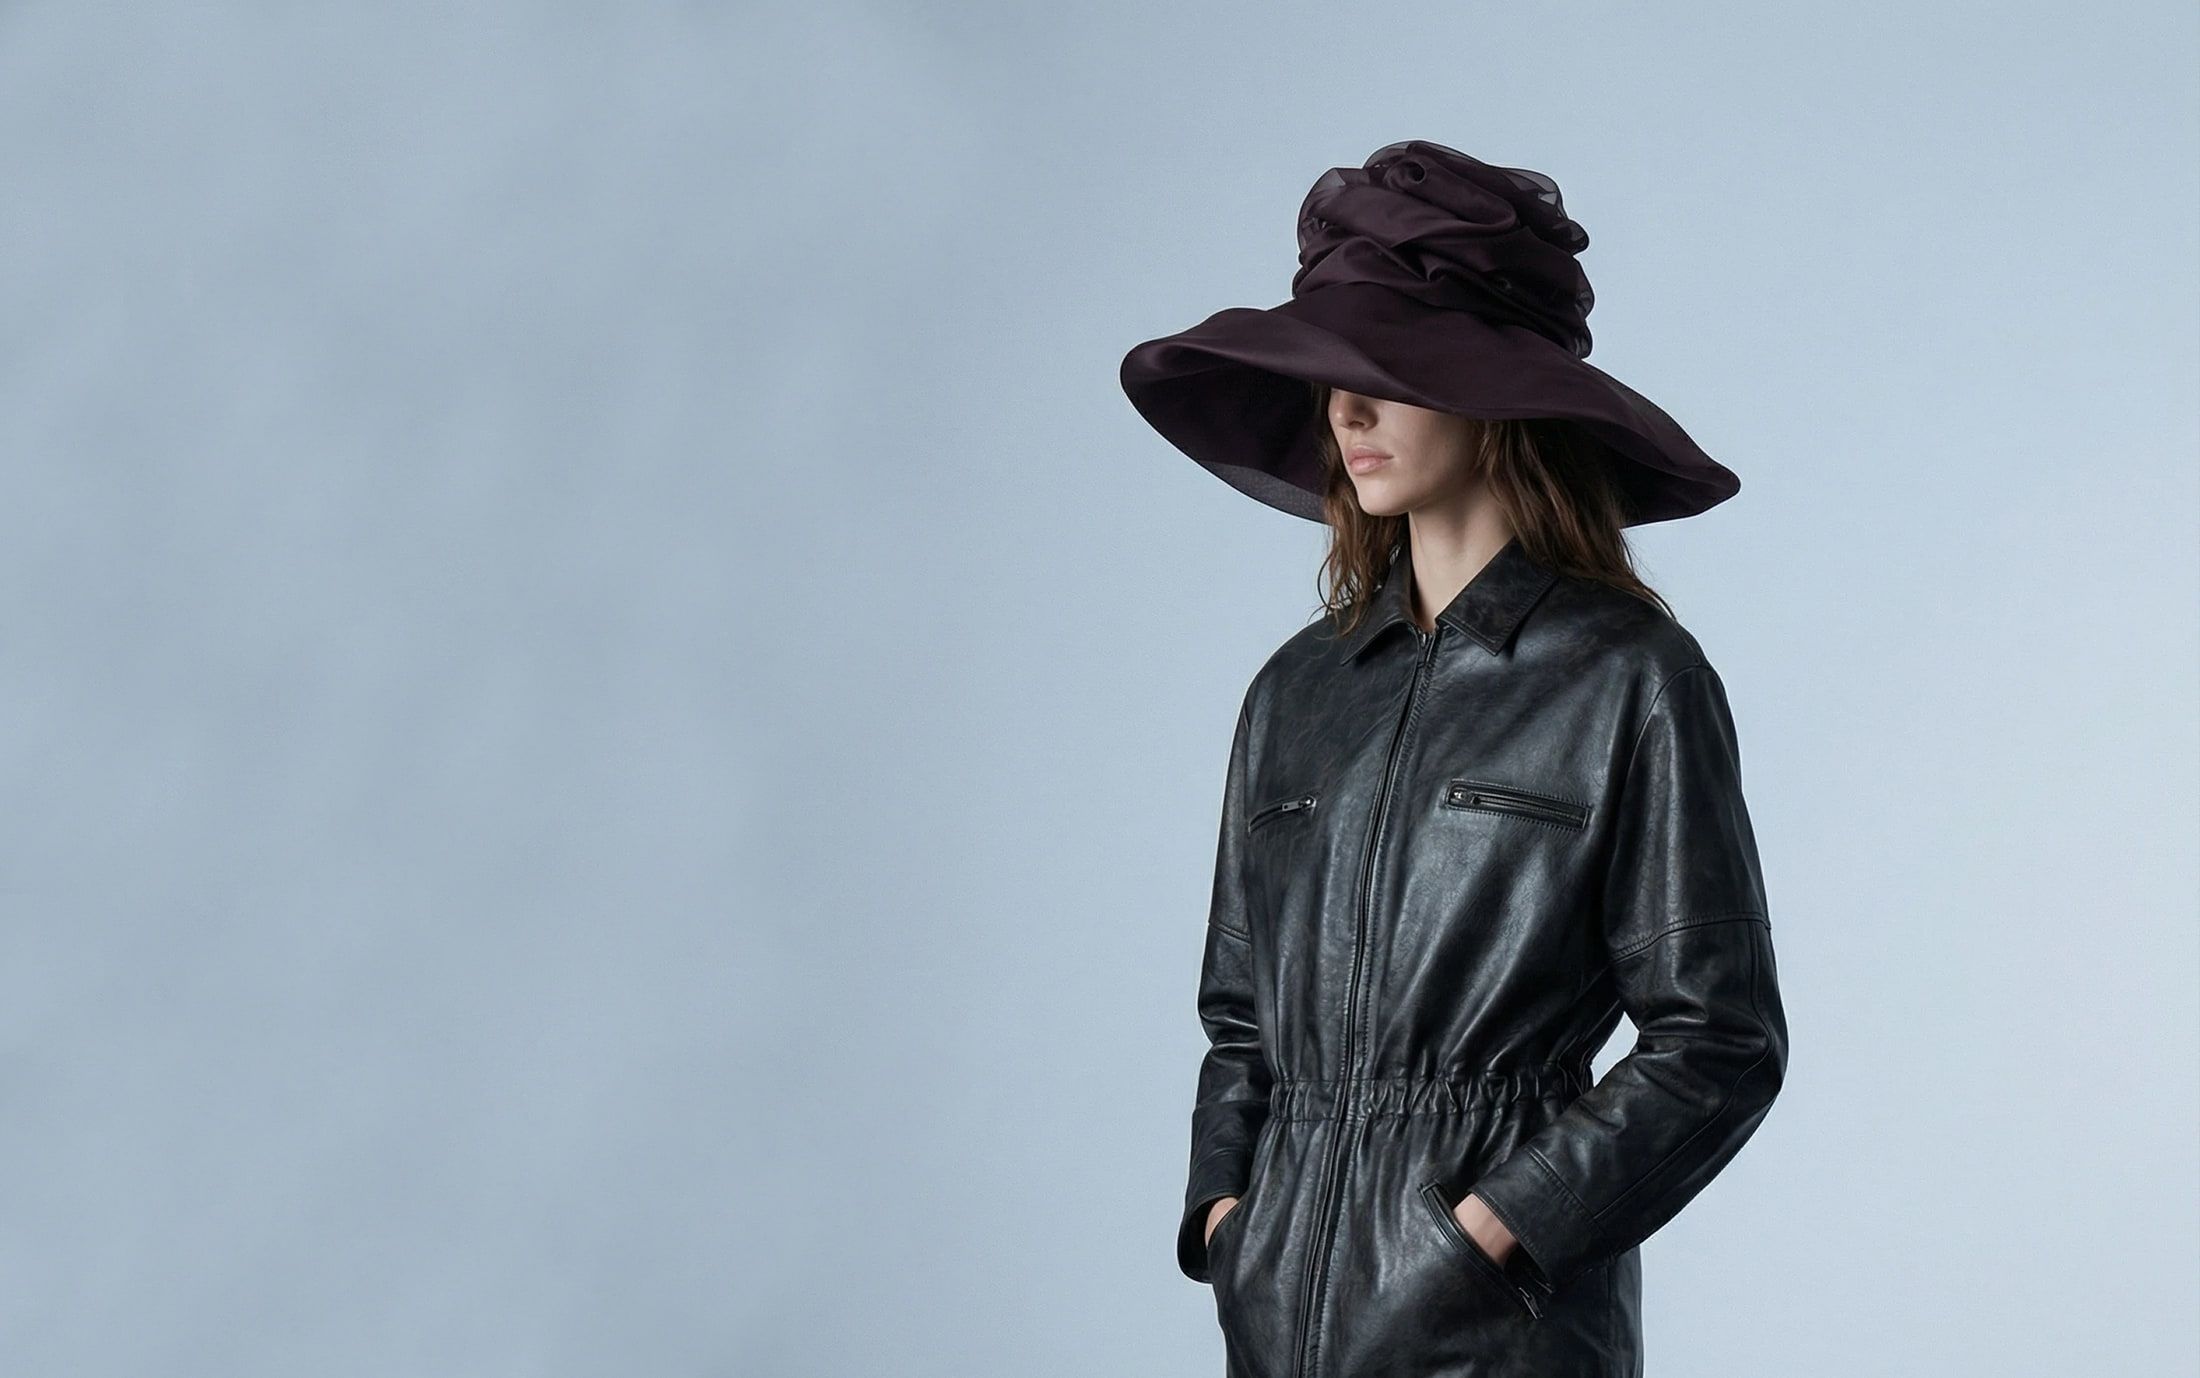
TL;DR. An AI fashion model generator takes photos of your garment and renders it on a person who never wore it. It redraws the garment instead of pasting it. That is how it drapes fabric around a body, and also how it merges a sleeve or stretches a print. It works best for catalog volume, one consistent model across a collection, and more body types than a casting budget covers. It fails on unseen sides, garment structure, small details, hands and likeness rights. Each failure has an input you control and a check you run before the image ships.
On-model photography used to start with a casting. Then came a fitting, a studio day and a usage contract with an end date. Every new market or body type meant another round of all four. A virtual model takes the person in front of the camera out of that chain. The garment still comes from you, and the garment is where this technology is both good and fragile.
This piece explains what happens between your upload and the finished image. It then walks through the five places a render goes wrong, with the fix for each.
How virtual models for apparel work
Every AI fashion model generator works from four inputs. There is the garment, the person wearing it, the body position and the setting. The output is one image of that garment on that person in that position and setting.
Tools collect those inputs in one of two ways. Prompt-based tools take a garment photo plus a written description of the model and the scene. Structured tools ask you to pick each input from a saved library. The difference shows up by the tenth image. A prompt is a fresh instruction every time, so the model on image 10 drifts away from the model on image 1. A saved input stays the same on every run.
Vision uses the structured approach, with a name for each input. A Product holds your garment photos, and Vision removes the background at upload. An Actor is a reusable virtual model. A Pose is the body position. An Environment is the background or scene. An Apparel Project brings them together. You define a garment set and choose Actors, Poses and Environments. Then you generate. Simple mode needs no prompt. Expert mode opens custom prompting for teams that want to steer the scene in their own words.
How the garment ends up on the body
The generator draws a new image in which your garment appears. It does not cut the garment out and lay it over a photo of a person. Your photos act as the reference for what the garment looks like. The generator draws it at the angle the Pose needs, folded where the body bends and lit by the scene.
That redrawing is what makes the image believable. A flat photo of a shirt carries no information about how the fabric falls over a shoulder. The generator supplies that from what it has learned about shirts on bodies. It adds drape, shadow and folds that a pasted cutout could never show.
Redrawing is also the source of every failure below. Wherever your reference leaves a gap, the generator fills it with the most typical answer. A typical shirt has typical sleeves, a typical length and a typical fit. When your garment departs from typical, the render drifts toward average unless the input pins the difference down.
Three ways to get the model
The first option is a model generated fresh from a description. It is fast. It also gives you a different person each time unless the tool saves the result.
The second is a model you build and save. In Vision that is Actor Builder, which works like a character configurator in a game with photorealistic output. Every Project on your account can use the Actor you save. Image 40 of the collection shows the same person as image 1, and that sameness is what makes a set of photos read as one shoot.
The third is a real person’s reference photo. Vision accepts one only with that person’s rights or permission. Consent is the part to settle before the first render. Our photoshoot consent guide covers the release each case needs, from a synthetic figure to a trained digital replica.
Showing a garment on three body types takes three Actors. There is no second casting and no second studio day. Vision calls this targeting Hyper-Relevance: the same product staged for different demographics, life stages and contexts.
Where virtual models work
Catalog volume is the first fit. A Shot List is the selection of Products, Actors, Poses and Environments a Project generates in one run. You pick them, see the credit total and run once. Vision loops through every combination. Twenty-five garments on one Actor in two Poses gives 50 images. At 2K each generation costs 2 credits, so the run costs 100 credits. Each generation takes about 30 seconds.
Consistency is the second. An Environment is a saved asset, so every garment in the collection sits under the same light in the same place. Catalogs that mix a desert, a kitchen and a studio read as three different brands.
Refreshes are the third. A new season can mean a new Environment for garments you already uploaded. The Product stays as it is and needs no fresh prep.
Localized storefronts are the fourth. A regional ad set can carry an Actor who matches that market, built once and reused across the whole range.
Where virtual models fail, and the fix for each
Unseen sides
A generator that only sees the front of a jacket has to invent the back. The invented back looks plausible and is wrong often enough to matter. A single image works in Vision, but it limits fidelity on the sides the generator never saw. Upload the back as well. Add any side with a pocket, a vent or a zip. The more angles a Product holds, the more faithful the rotated and back views stay. Multiple angles are recommended, not required.
Garment structure
Sleeves merge into the body. Prints stretch across the chest. A cropped hem drops to the hip. These three failures share a cause, and our explainer on garment fidelity in AI fashion photos walks through each one. The short version is to give the generator a clean reference with the shape visible. Pick Poses that keep sleeves clear of the torso. Check the result against the sample.
Small text and hardware
Letters in a logo are shapes the generator has to redraw. A button, a zip pull and a drawstring are small enough to lose. Zoom in on every one before approval. When a detail keeps coming back wrong, upload an angle where it shows clearly.
Hands and contact points
A hand in a pocket or a hand gripping a bag strap is among the hardest areas to get right on any generated person. Pick Poses with relaxed, visible hands for the frames where the garment matters most. Reject the rest and rerun them.
Likeness and disclosure
A generated face that resembles a real person raises a likeness question. Build Actors from scratch or from a reference you hold rights to. Disclosure rules for AI images of people are tightening, and our 2026 regulations explainer covers what applies where you sell.
How to test an AI fashion model generator
Pick your hardest garment for the test. A print with a clear repeat works well, as does a long sleeve or a back detail. Generate the same garment on one saved model in several Poses. Then check five things. The person stays the same in every frame. The print keeps its scale. Both sleeves end at the right length. The back matches the real back. The color matches the sample in daylight.
Test on the hard garment first, because the easy ones hide the failures. A reject in a test costs two credits, and a reject that ships costs a return. For the merchandising side of the decision, our guide to the AI product photo on model covers which listing slots earn an on-model shot and which want a clean product.
Vision’s Free plan gives 10 credits with no card. That is five images at 2K inside one example project, and the images carry a watermark. The 7-day trial on any paid plan is the other path in. It needs a card on file and comes with no watermark and every feature. Plans start at $9.99 a month on the pricing page, and the fashion brands page shows how an apparel catalog runs through Apparel Projects.