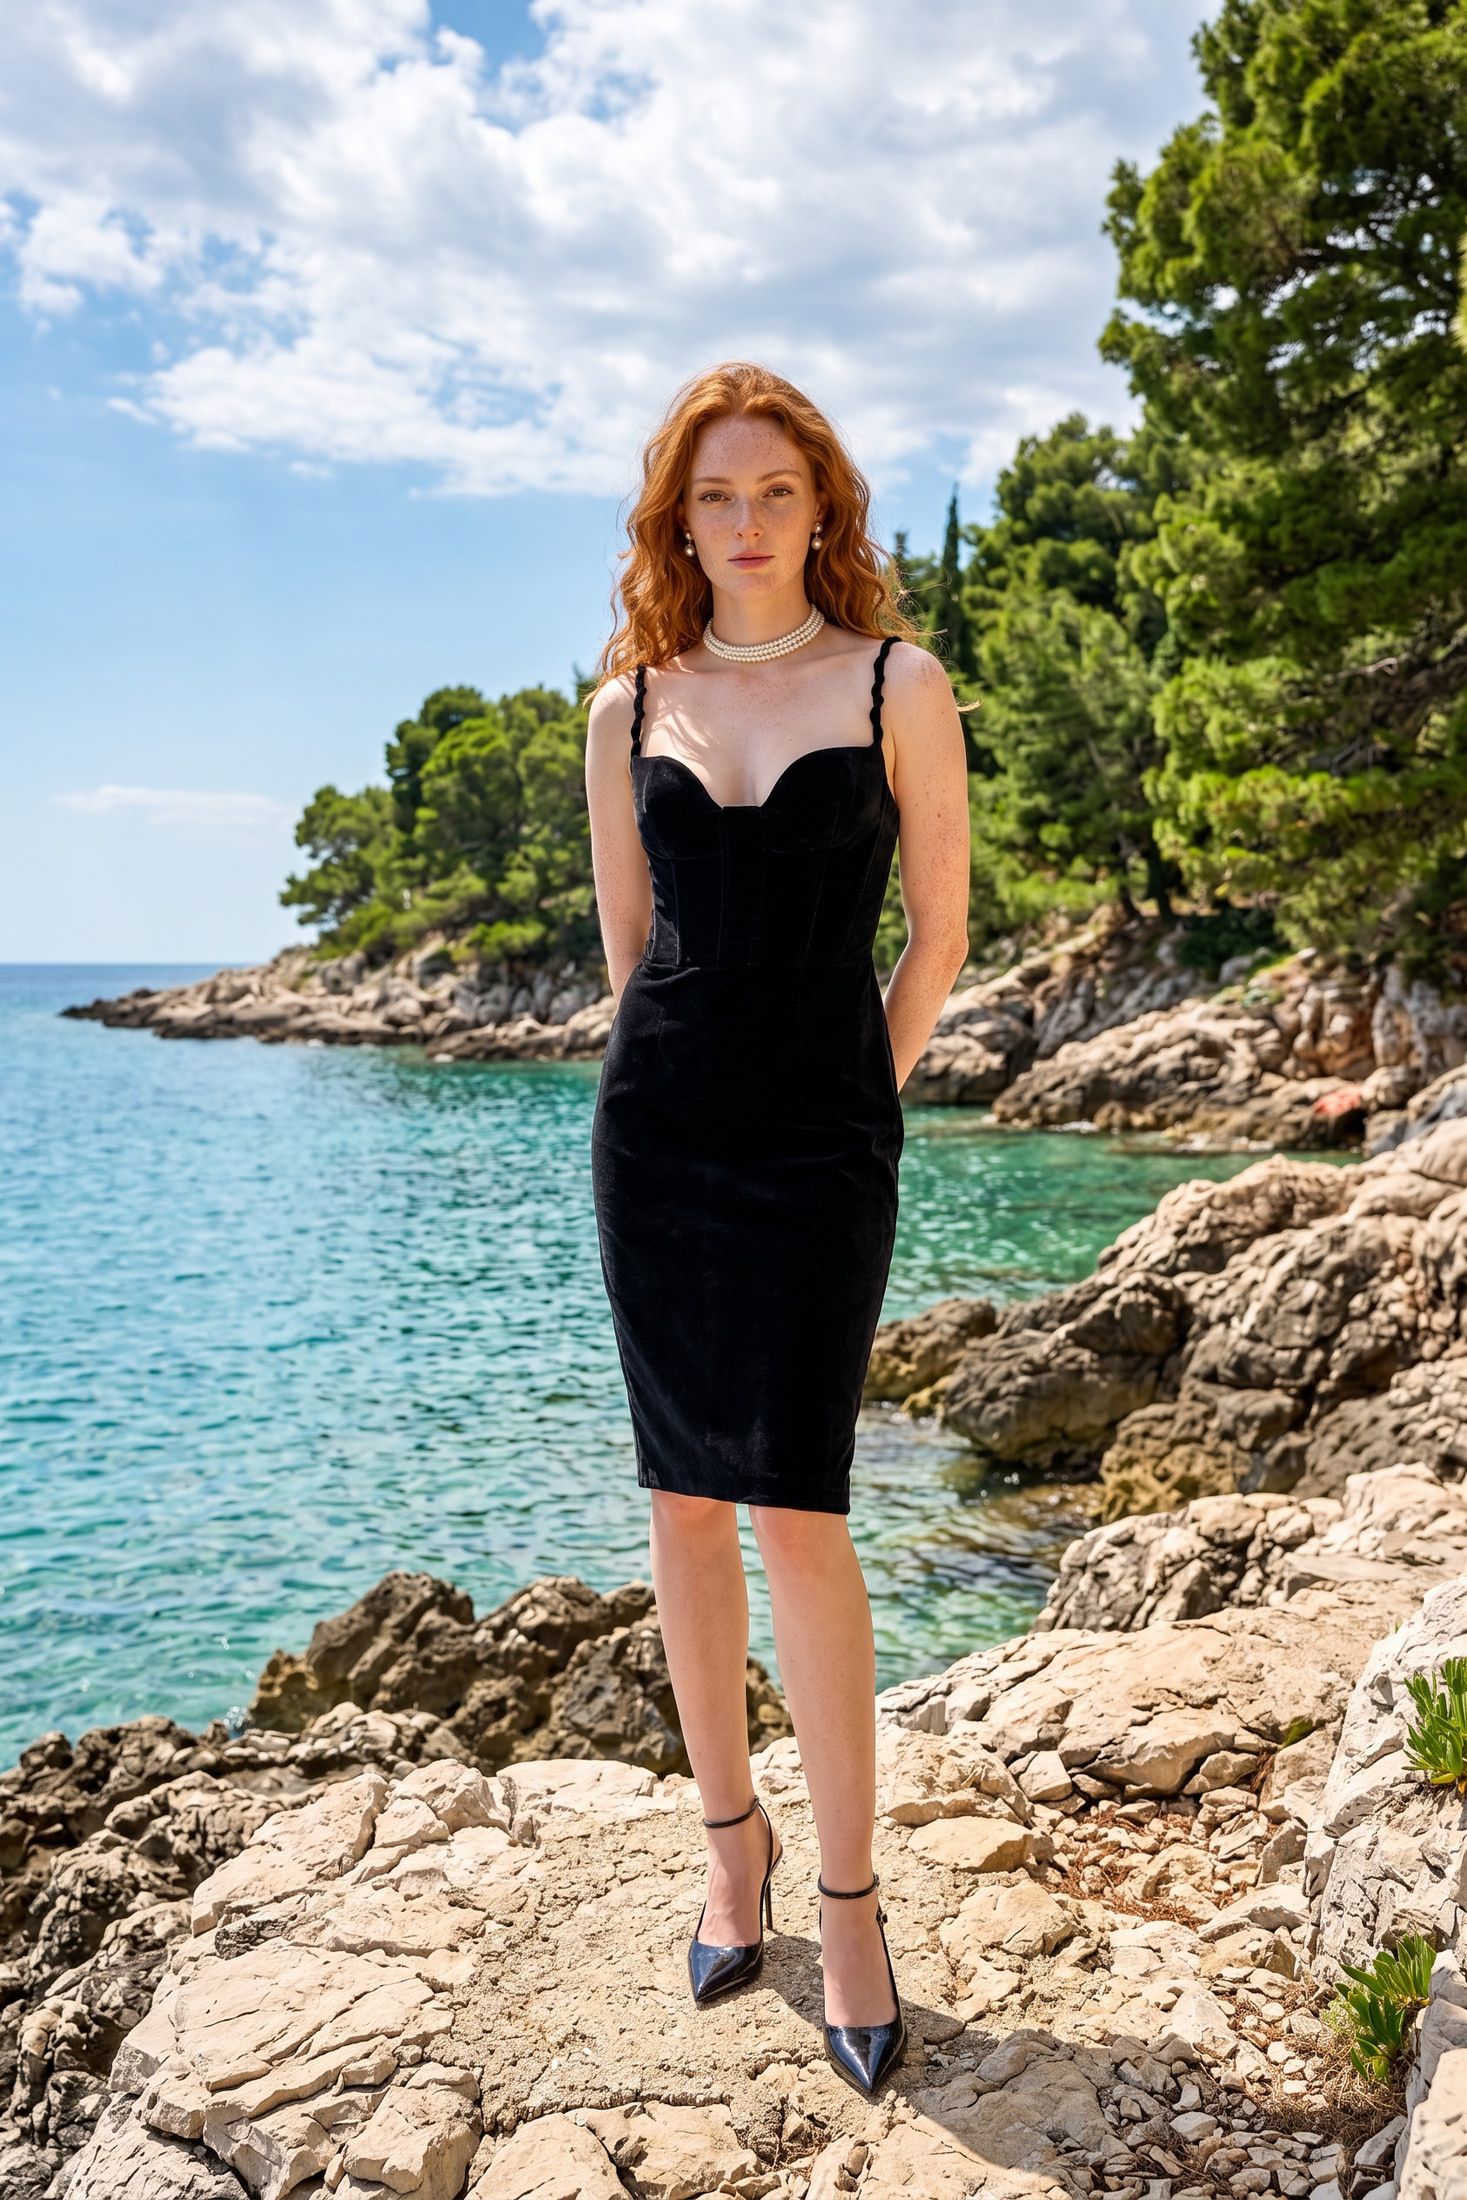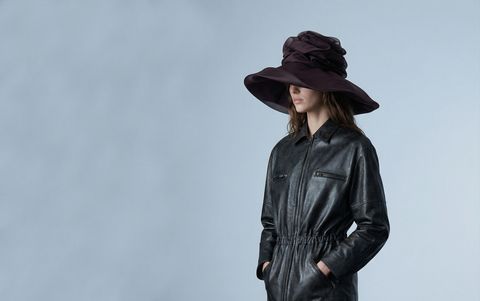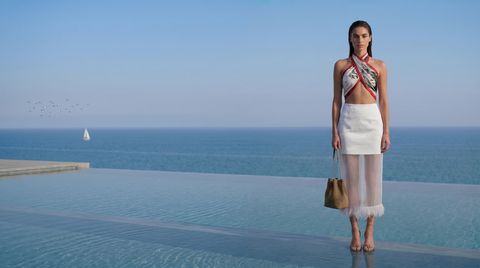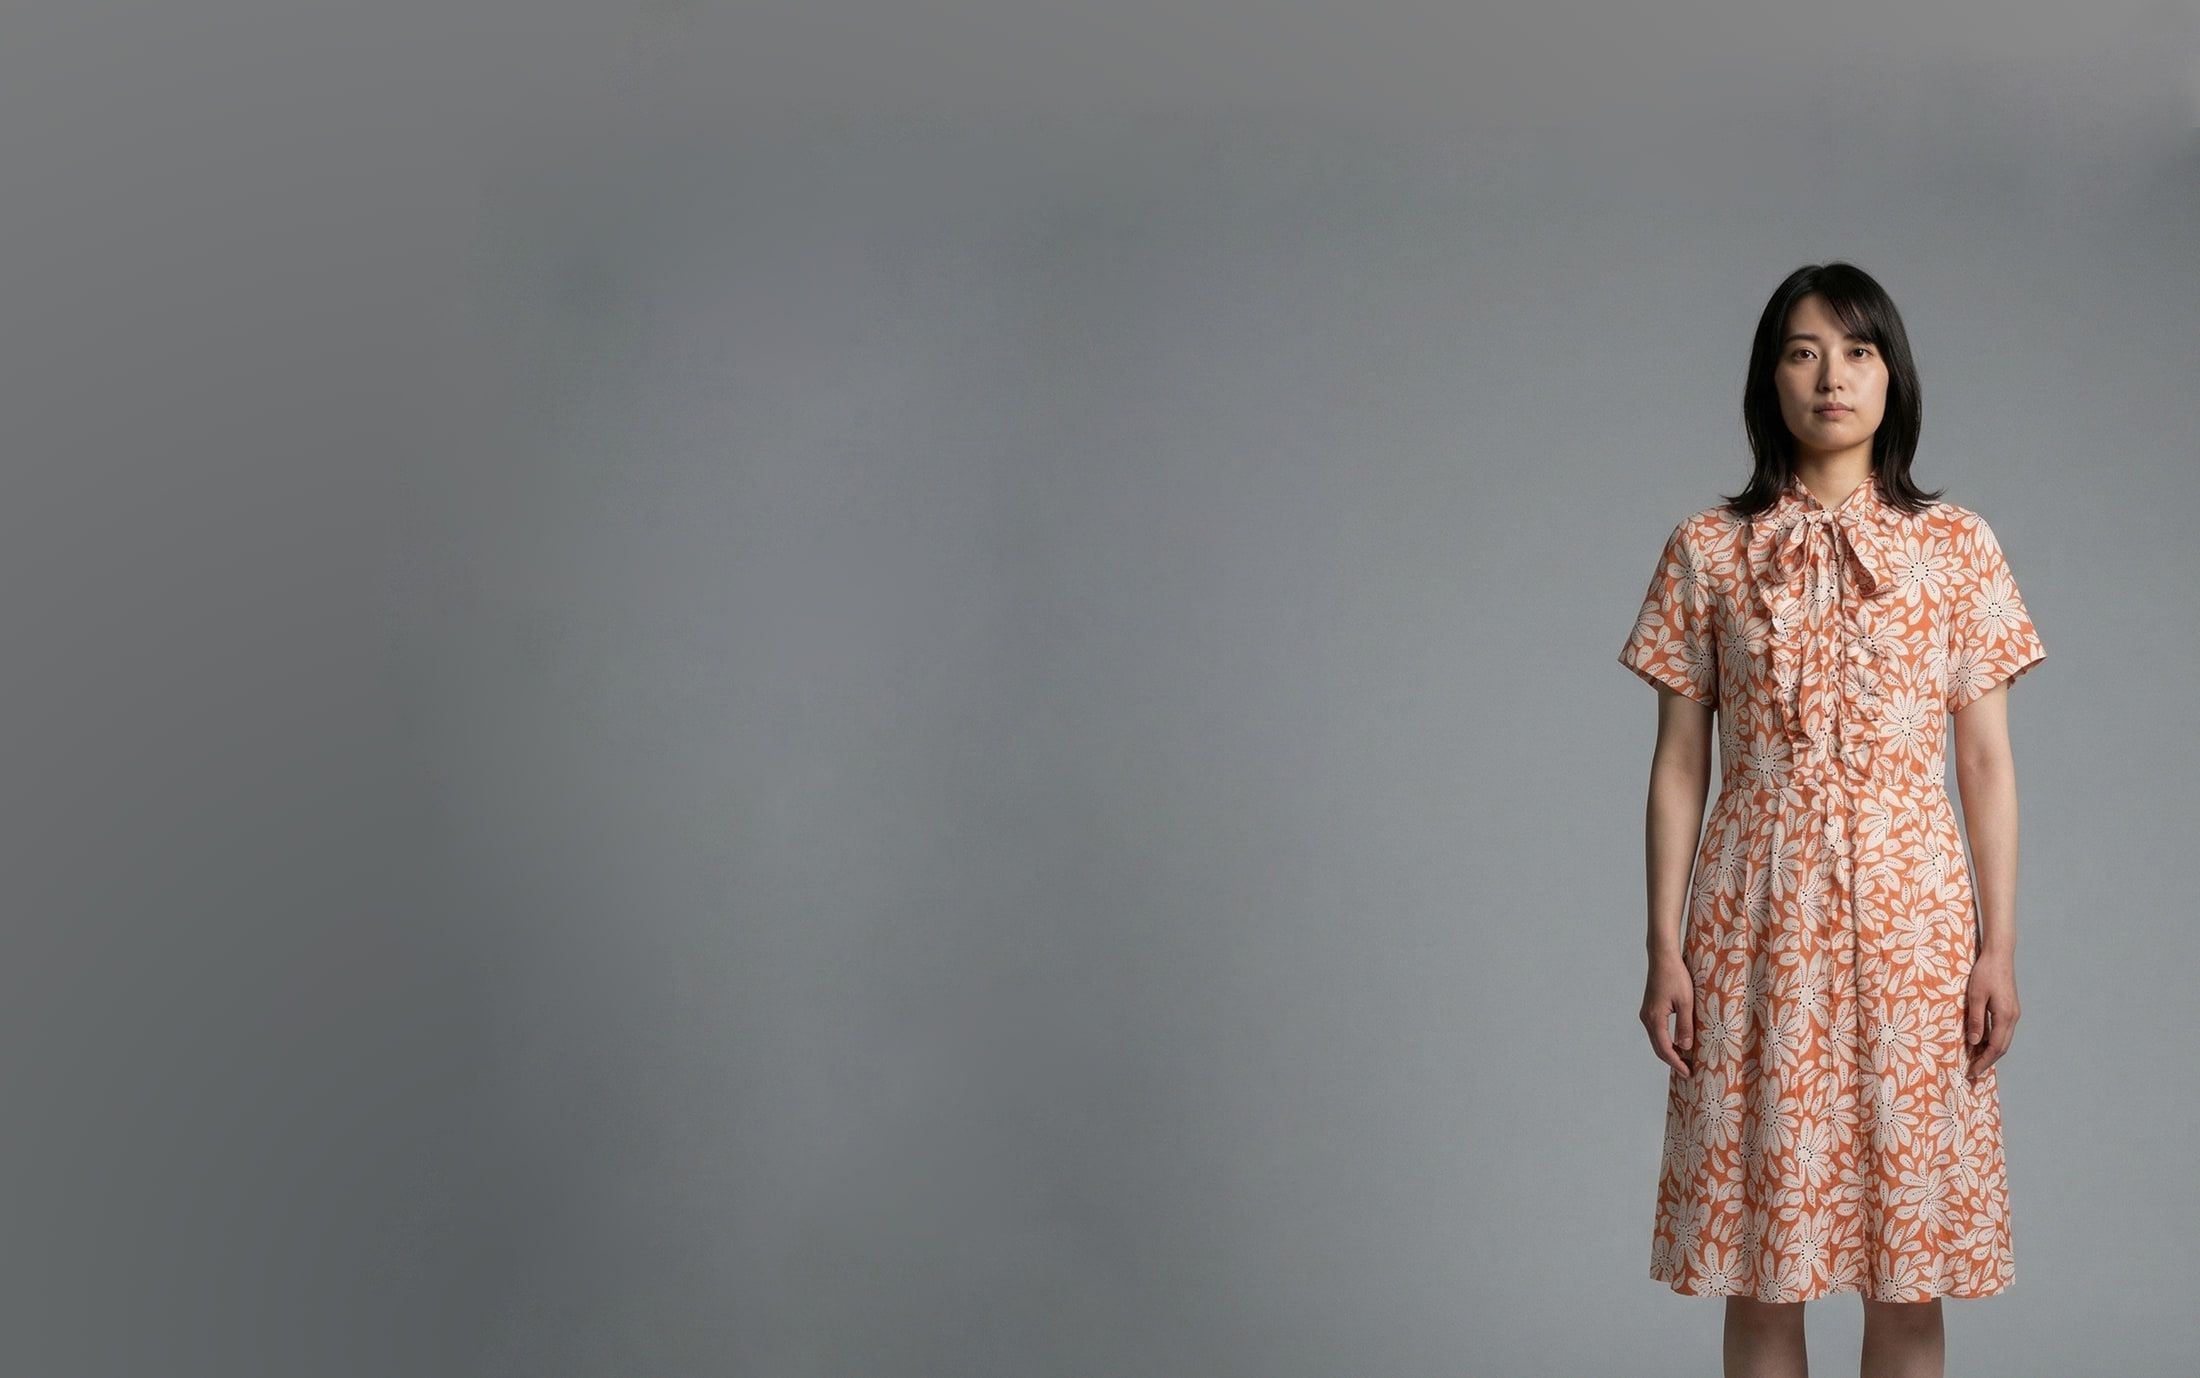
TL;DR. Garment fidelity is how closely an AI fashion photo matches the real garment in shape, construction, print, color and fit. Generators redraw the garment for every image instead of pasting it. Failures cluster in four places. Sleeves merge where two areas of the same fabric meet. Prints stretch where a flat pattern has to wrap a body. Fit changes where the generator falls back on an average cut. Small details vanish when they are too small to anchor. Each failure has a cause on the input side you control and a check on the output side you run before the image ships.
For most products an AI render that is a little off is a cosmetic problem. For fashion the garment is the product. A sleeve that ends at the wrong place or a check that runs at a new scale shows the shopper a garment you do not sell. The shopper who buys it receives a different one, and that gap comes back as a return.
This explainer covers the four common failures in AI fashion photos and where each one comes from. It ends with a check you can run on every image.
What garment fidelity covers
Garment fidelity has five parts. Silhouette is the outline of the garment. Construction covers the pieces and how they join: sleeves, collar, cuffs, seams and closures. Surface covers print, weave and texture. Color is the hue and depth of the fabric. Fit is how the garment sits on a body in length, width and rise.
A render can pass on four of these and fail on the fifth. A perfect print on a jacket that grew a longer hem is still a failure. So the check has to cover all five every time.
Why generators redraw the garment
An AI fashion photo is a new image. The generator does not cut your garment out and place it over a person. It looks at your garment photos and draws the garment again, at the angle the pose needs and with folds where the body bends.
Redrawing is why the result looks worn instead of pasted. It is also why fidelity leaks. Wherever the reference photo leaves a gap, the generator fills it with what a typical garment of that kind looks like. Every failure below is a case of the typical answer winning over your specific garment.
Why sleeves merge
A sleeve and the body of a top share the same fabric, the same color and the same texture. The only thing separating them in a photo is a seam and a thin line of shadow. In a flat lay or on a hanger the sleeve often lies against the body panel, so the reference shows that line faintly or not at all.
Now the pose asks for an arm at the side or across the torso. The generator has to decide where the sleeve ends and the body begins. When the edge in the reference is weak, the two areas blend. A sleeve fuses into the side seam. A cuff disappears into the hem. An arm gains an extra fold that reads as a third piece of fabric. The risk rises with dark solid colors, chunky knits and dropped shoulders. On those the boundary is faint even in the real garment.
The fix starts at the photo. Lay the garment with the sleeves spread away from the body so the seam line is visible. Add a back view, since the back often shows the armhole more clearly than the front. Then choose poses that keep the arms clear of the torso for any garment where the sleeve matters. Check every render by counting the sleeves, finding both cuffs and comparing sleeve length against a fixed point like the wrist.
Why prints stretch
A print on a flat photo is a flat pattern. On a body the same pattern curves over the chest, bunches at the waist, breaks at a seam and hides inside a fold. The generator has to redraw the pattern at every point of that surface. Keeping the repeat at one scale while it bends is hard, and so is carrying it across a fold without a jump.
The failures follow from that. The repeat grows or shrinks across the garment. A fine repeat smooths into a blur. The generator invents motifs the print never had. Or the print goes flat and ignores the folds, which makes it look pasted on. Stripes and checks show all of this first, because a straight line makes any warp visible. A placement print such as a chest graphic tends to shift up, down or sideways and change size.
The fix is a reference with the whole print visible at a good size. Vision recommends 1000px on the shortest side and accepts files up to 10 MB. Photograph the garment flat and wrinkle-free, so the pattern in the reference is the true pattern. Check every render by counting repeats across a fixed width such as shoulder to shoulder. Compare the count with the sample. Stripes should stay parallel wherever the fabric lies flat. A chest graphic should sit the same distance from the neckline as on the real garment.
Why fit changes
Fit is the failure that is hardest to spot and most expensive to miss. The generator knows what a typical shirt, trouser or dress looks like on a body. When your cut is different, the render drifts toward typical. An oversized top gets fitted. A cropped jacket gains length. A wide leg narrows. A high rise sits lower.
The shopper cannot see the drift, because they have never seen the real garment. They buy the fit in the photo and receive the fit you make. That is the gap that turns into a return.
The fix is a reference that shows the true shape. Photograph the full garment from hem to collar with nothing folded under. Include the back and any side view that shows the cut. Then check each render against landmarks on the body. Note where the hem sits against the hip, where the sleeve ends against the wrist and where the waistband sits against the navel. Compare those with a photo of the sample on a person or a form.
Why small details vanish
Logos, woven labels, buttons, zip pulls, drawstrings and topstitching are small parts of a large image. The generator redraws them as close approximations. Letters come back as letter-like shapes. Four buttons become three. A contrast stitch fades into the fabric.
Upload an angle where each detail shows clearly. Generate at 2K so small parts get enough pixels, and upscale the keepers to 4K for print. Upscaling adds pixels to what the image already shows, so it does not repair a detail the generation drew wrong. Zoom to each detail on every render and reject the ones that drifted.
Color drift
Color is the fifth part of fidelity and the one the scene affects most. A generator that matches a garment to a warm sunset scene also warms the garment. A white shirt at golden hour reads cream. A navy coat in a blue-lit street reads black.
For the frames that sell the product page, keep one render per garment on a neutral studio backdrop. Vision has a studio backdrop option for this. Compare it with the sample in daylight, and save the moody scenes for secondary images.
What a tool can control and what it cannot
A tool controls the inputs it asks for. In Vision a Product is a persistent asset that holds multiple angles. The more angles you upload, the more faithful rotated and back views stay. Multiple angles are recommended, not required. The Product is reused across every Project, so the reference that produced a faithful render once is the same reference next season.
A tool also controls how much a prompt can change the garment. A free-text prompt invites reinterpretation. Describe a “relaxed look” and the generator may relax the cut too. Apparel Projects in Vision have a Simple mode that needs no prompt. You define the garment set and choose the Actor, Pose and Environment. Then you generate. Expert mode opens custom prompting when the scene needs it. That puts the garment reference in charge instead of the wording.
No tool removes the review. Every generation costs credits, the ones you reject included. At 2K a generation costs 2 credits, so a rerun budget of ten frames is 20 credits. Plan for reruns from the start instead of treating them as a surprise.
The fidelity check
Run this on every image before it goes live. It takes a minute per frame once it becomes habit.
- Silhouette. Trace the outline against the sample photo. Width, length and shape match.
- Construction. Two sleeves, both cuffs, the collar shape and every seam in the right place.
- Surface. Count print repeats across a fixed width. Stripes run straight where the fabric lies flat.
- Fit. Hem, sleeve end and waistband sit at the same body landmarks as on the sample.
- Details. Zoom to every logo, button and zip. Letters read and counts match.
- Color. Compare with the sample in daylight on the neutral backdrop frame.
- Back view. The back matches the real back, not an invented one.
A render that fails any line goes back for a rerun with a better reference or a different pose. For the wider decision about when an on-model image is worth making at all, our guide to the AI product photo on model covers slot choice and marketplace rules. The virtual models explainer covers the Actor side, and the fashion brands page shows the Apparel Project workflow end to end.