Buying more credits in Vision takes less than a minute — you choose how many you need, see the exact cost before you commit, and land on a secure checkout page to complete your purchase. After this guide, you’ll know how to navigate to the top-up page, pick or enter a credit amount, and submit your order.
This is the right workflow any time your credit balance is running low and you want to top it up on demand, outside of your regular subscription cycle.
Before you start
- You must be signed in to Vision and belong to a team that is on a paid subscription plan. Free accounts see a prompt to subscribe instead of the purchase form — see the Registration and Team Onboarding guides if you need to get set up first.
- Credits are billed to the payment method on file for your team. Make sure your billing details are current before purchasing.
1. Go to the Credit Top-Up page
From the Vision Dashboard, open Settings and navigate to Credits → Top Up. The direct path is /settings/credits/topup.
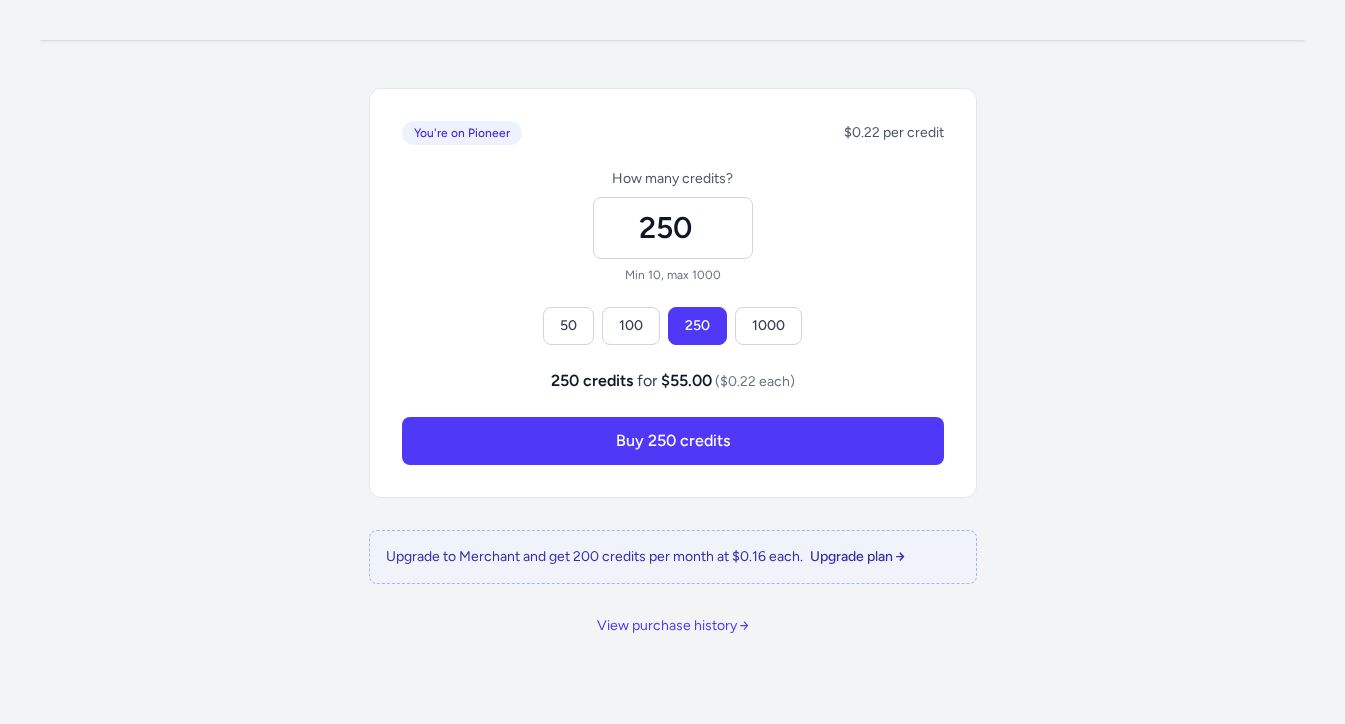
The page loads with a banner showing your current subscription tier and the per-credit price that applies to your plan. For example, Pioneer plan members see a $0.22 per credit rate.
Tip: Your per-credit price is determined by your subscription tier. Higher tiers unlock a lower rate per credit, so upgrading your plan can reduce the cost of every AI action you run.
2. Choose how many credits to buy
You have two ways to set the credit amount:
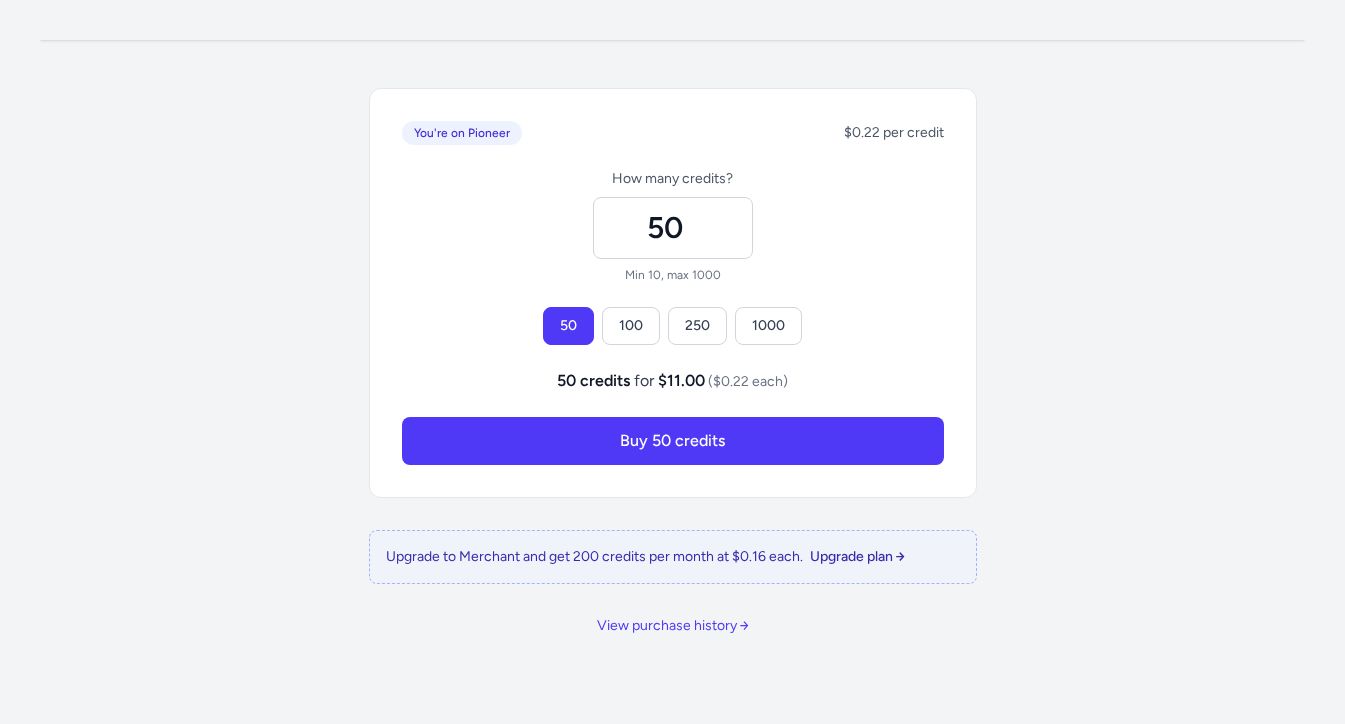
Use a quick-pick button — Click one of the preset amounts (50, 100, 250, or 1000) to instantly select that quantity. The button highlights to confirm your selection and the total cost updates in real time.
Type a custom amount — Click into the Credits field and enter any whole number between 10 and 1000. If you type a value outside that range and click away, Vision automatically clamps it to the nearest valid number — below 10 snaps up to 10, and above 1000 snaps down to 1000.
Tip: Watch the live cost preview update as you change the amount — you’ll see the exact total you’ll be charged before you click anything to confirm. There are no hidden fees.
3. Review the total and submit
Once you’re happy with the quantity, click the Buy N credits button (the label updates to reflect your chosen amount, for example Buy 250 credits). Vision sends you to a secure Stripe Checkout page where you enter or confirm your payment details and complete the purchase.
After a successful payment, your new credits are added to your team’s balance immediately. You can verify the transaction at any time in your Credit History.
Tip: Credits are shared across your entire team, so every member benefits from a top-up the moment it completes.
What free users see
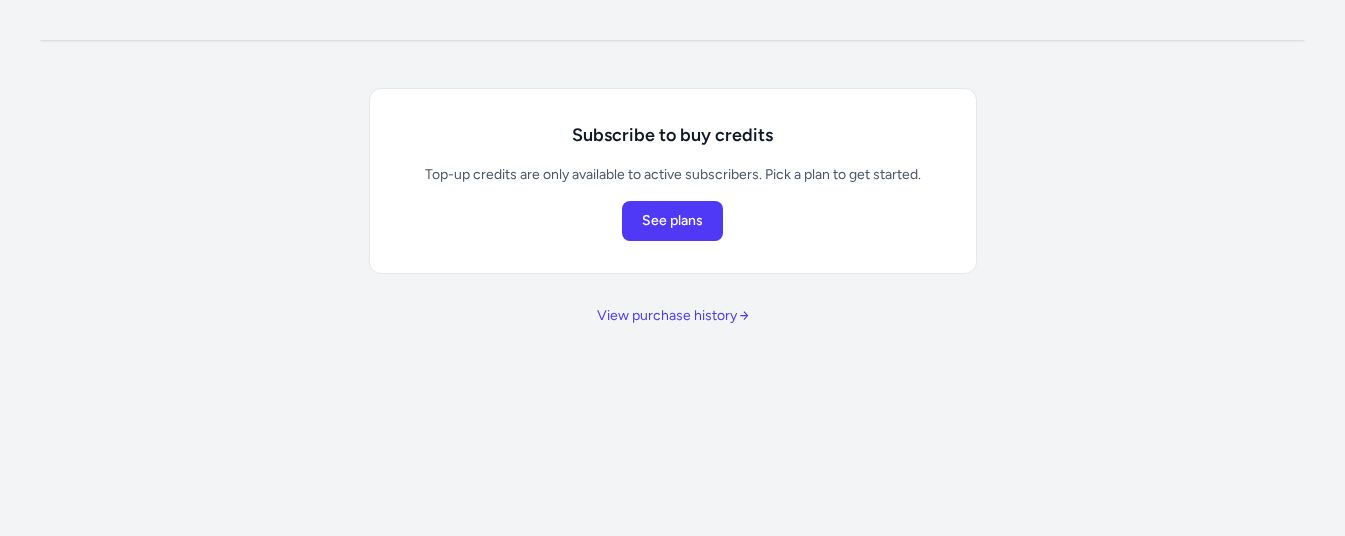
If your team is not yet on a paid plan, the top-up form is replaced by a Subscribe to buy credits prompt. Purchasing credits requires an active subscription — start one from the prompt or see Team Onboarding for a walkthrough.
Next steps
You’ve successfully topped up your team’s credit balance and are ready to run more AI actions in Vision. Put those credits to work by trying Background Removal to cut out product images in seconds, or explore Person Swap to place a model into a new scene without a photoshoot.
All brand names are property of their respective owners and used for demonstration purposes only.